Chile Relleno Chicken Rollups
My husband said I actually made a “blog-worthy” meal last night while eating this! That’s a bit of a relief since I haven’t posted a new recipe in a while due to vacation and other business in our lives. When I first spied this recipe a few days ago, though, I immediately knew I wanted to make it as as soon as possible. Hubby said he’s always wary when I make something completely new (not without reason) but he gave this two thumbs up! (My daughter missed out on this meal since she was at a sleepover. Her loss!)
Chile Relleno Chicken Rollups
Adapted from Chicken Chili Relleno from Lady Behind the Curtain
2 large poblano peppers
1 pound skinless, boneless chicken breasts
1/3 cup cornmeal
2 tablespoons homemade taco seasoning mix (or store-bought)
1 egg
1 to 2 ounces Neufchâtel cream cheese
2 ounces Monterey jack cheese, grated
2 tablespoons cilantro, chopped
Red enchilada sauce, for serving (homemade or store-bought)
Sour cream, for serving
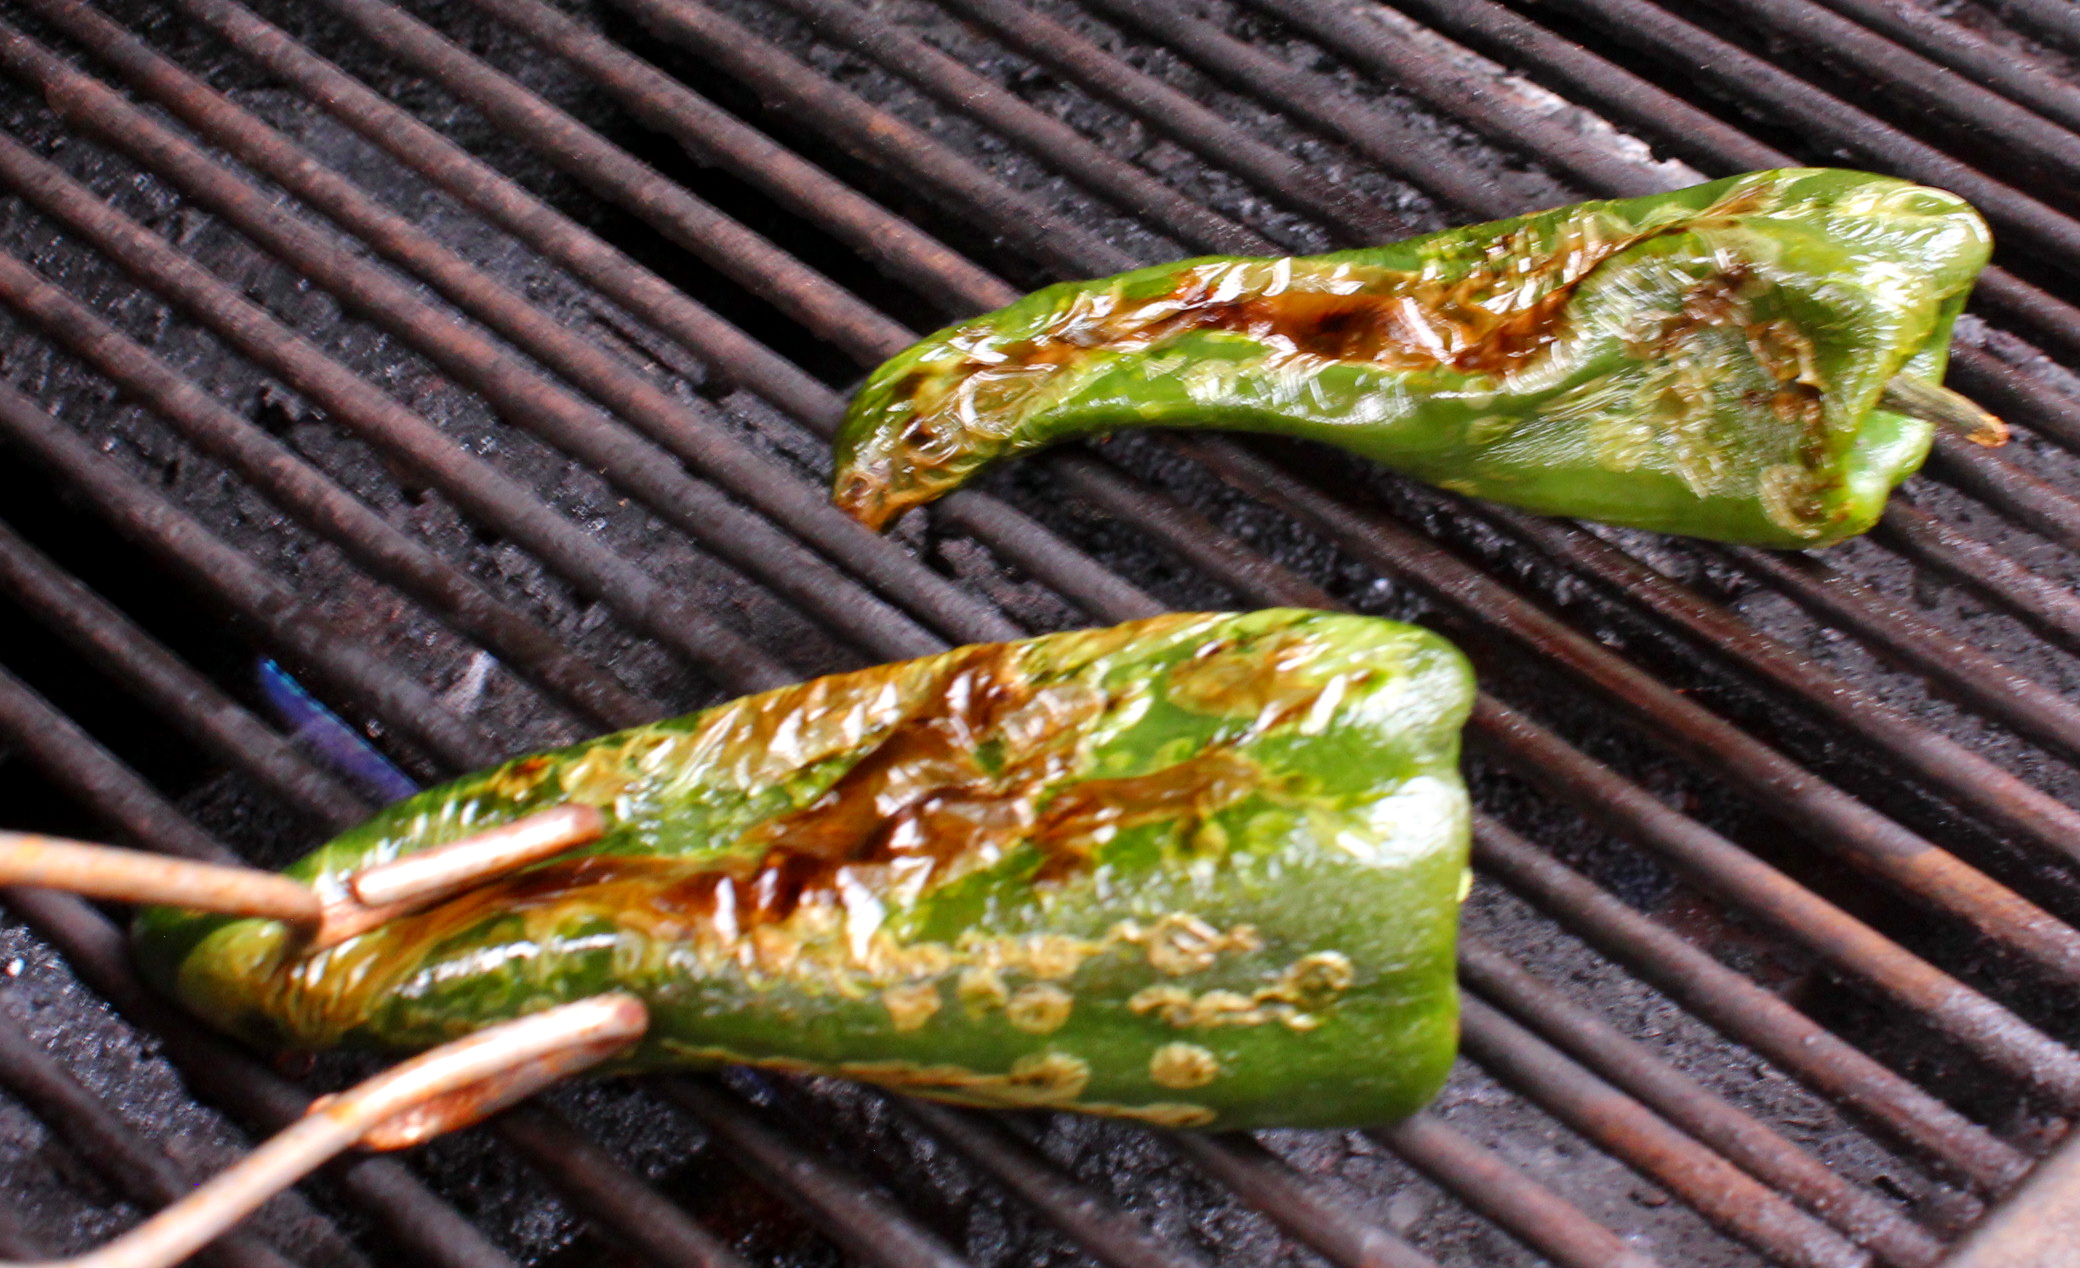
Charred Poblano Peppers
Char the peppers on a grill over high heat, turning frequently, until blistered all over. This takes about 10 to 15 minutes. Place peppers in a paper bag and close, then let rest for 10 minutes. After 10 minutes, remove from bag, cut the stem off, then peel the blistered skin. Cut the peppers in half length-wise, then deseed. Set aside.
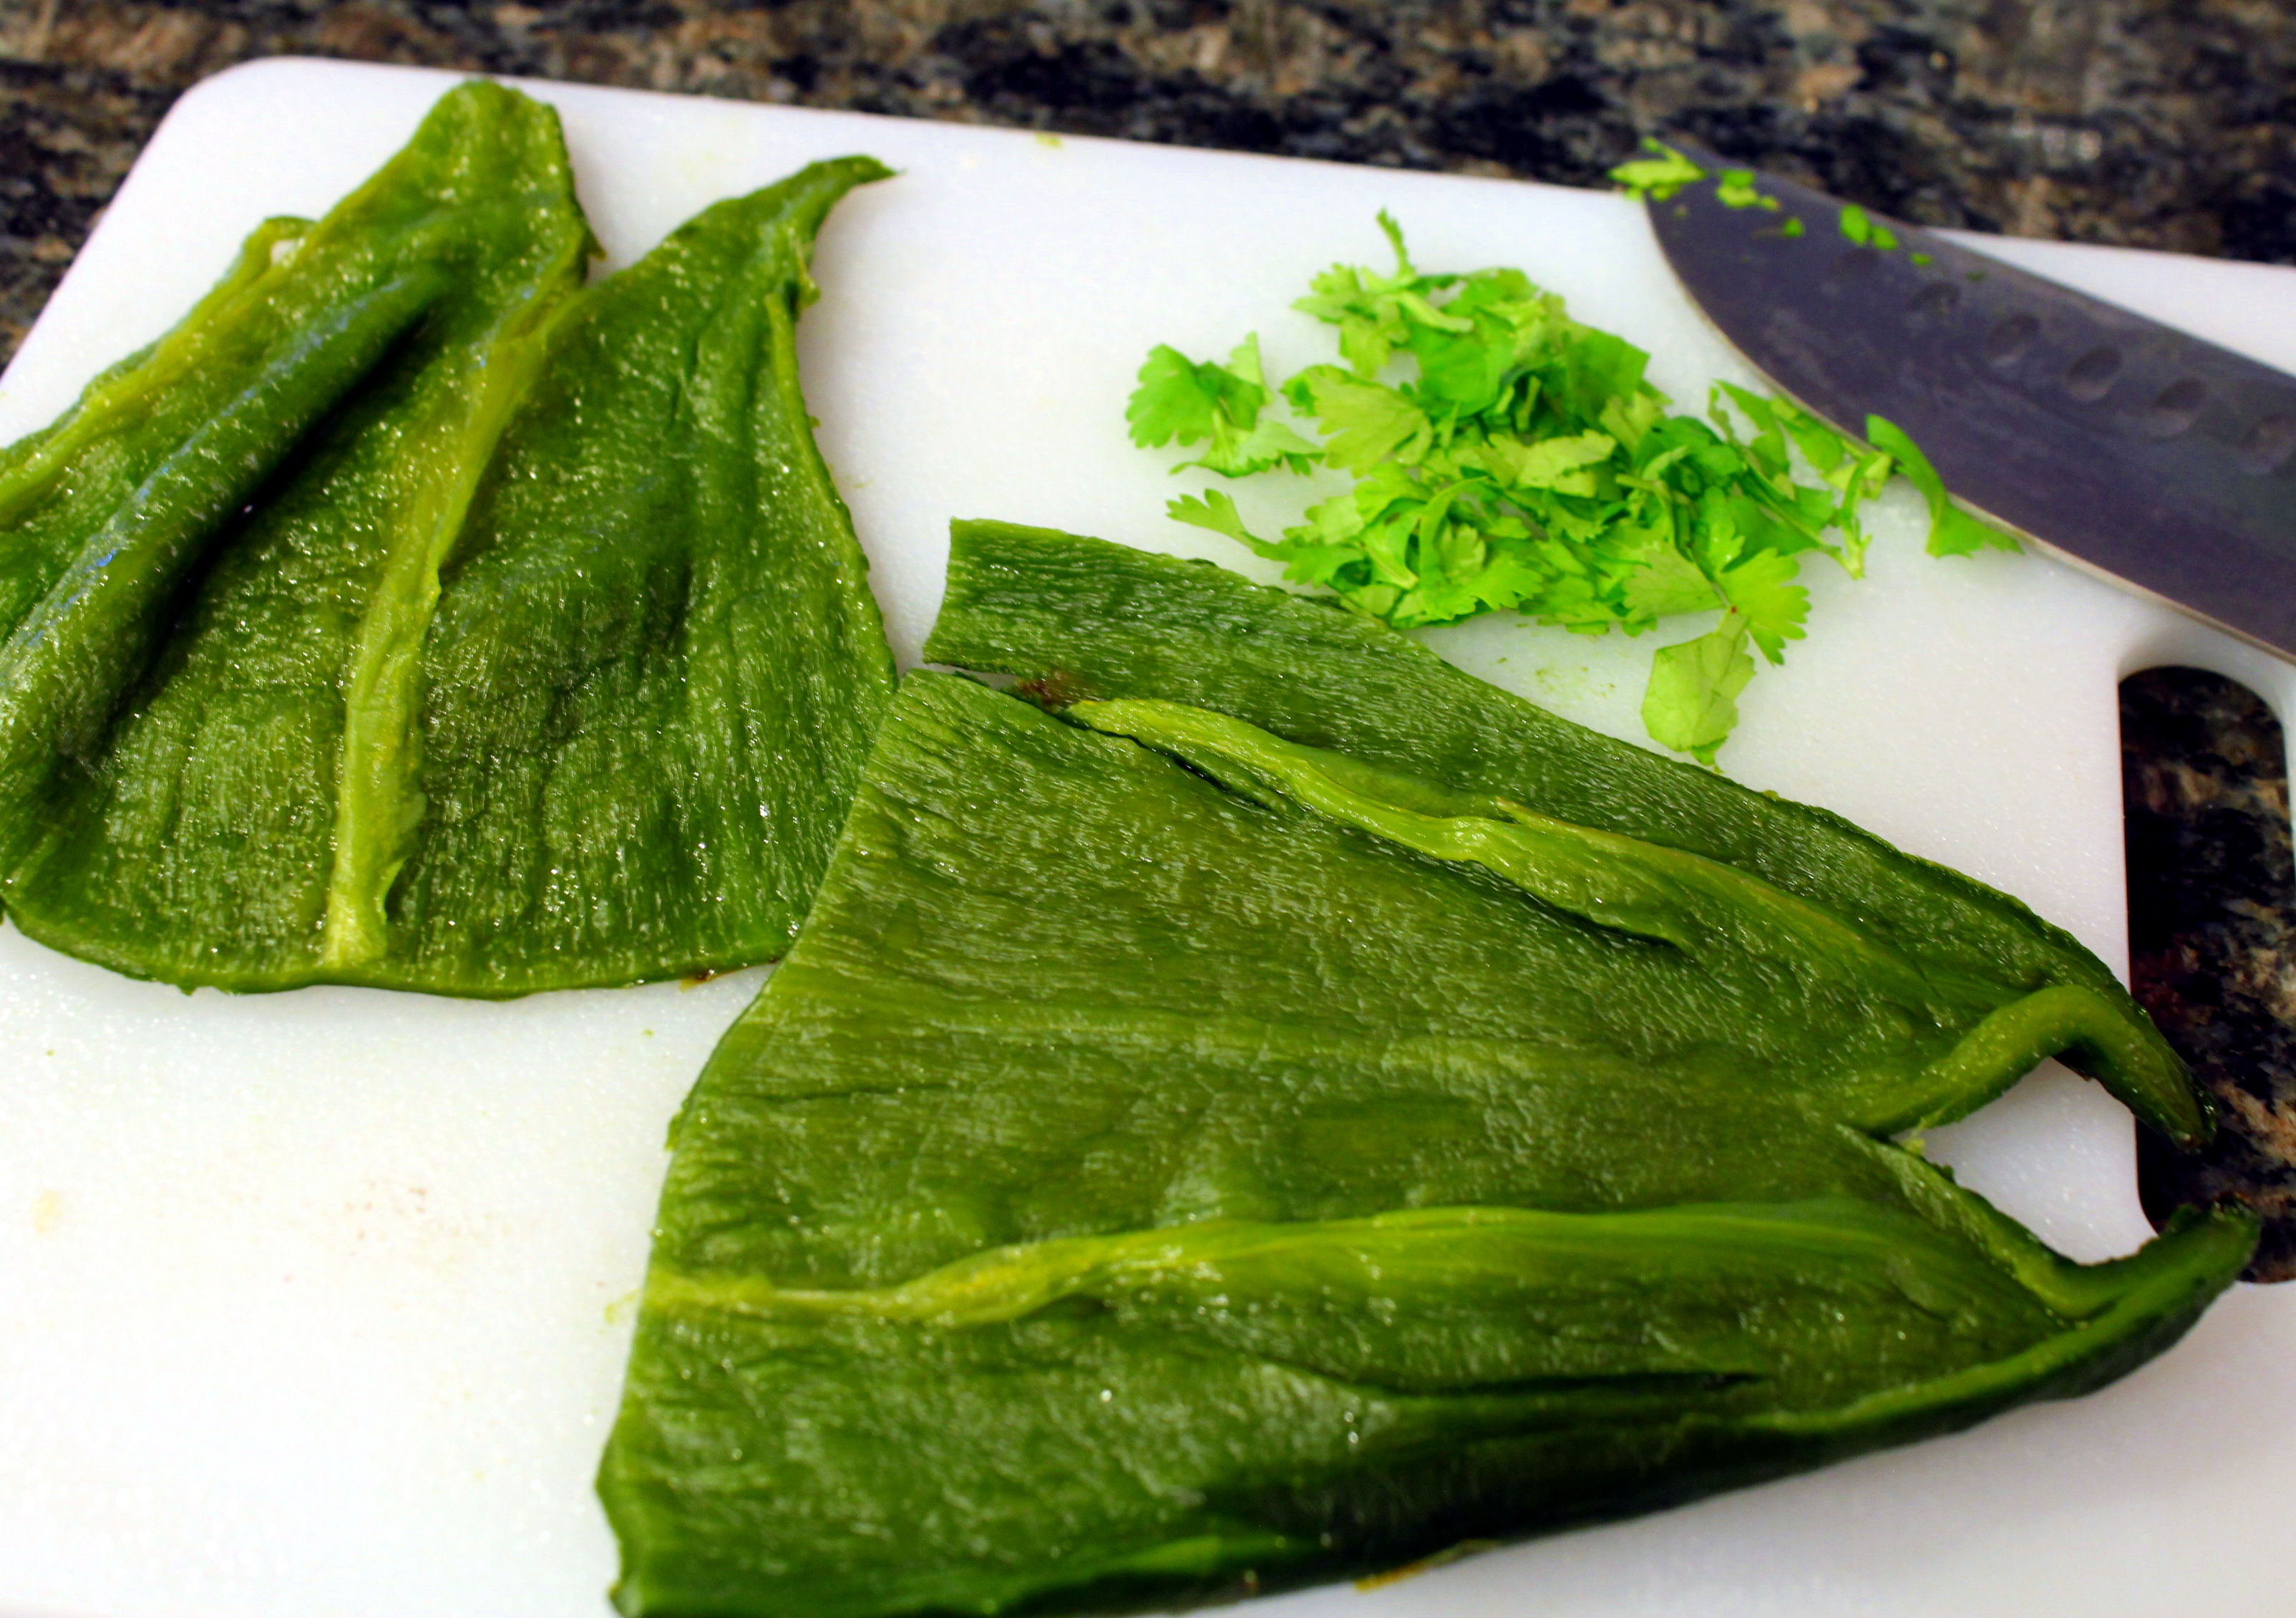
Peeled and Deseeded Poblano Peppers
Preheat oven to 375 degrees now. If chicken breast(s) are large, butterfly in half. Pound the chicken to 1/4- to 1/8-inch thickness and set aside
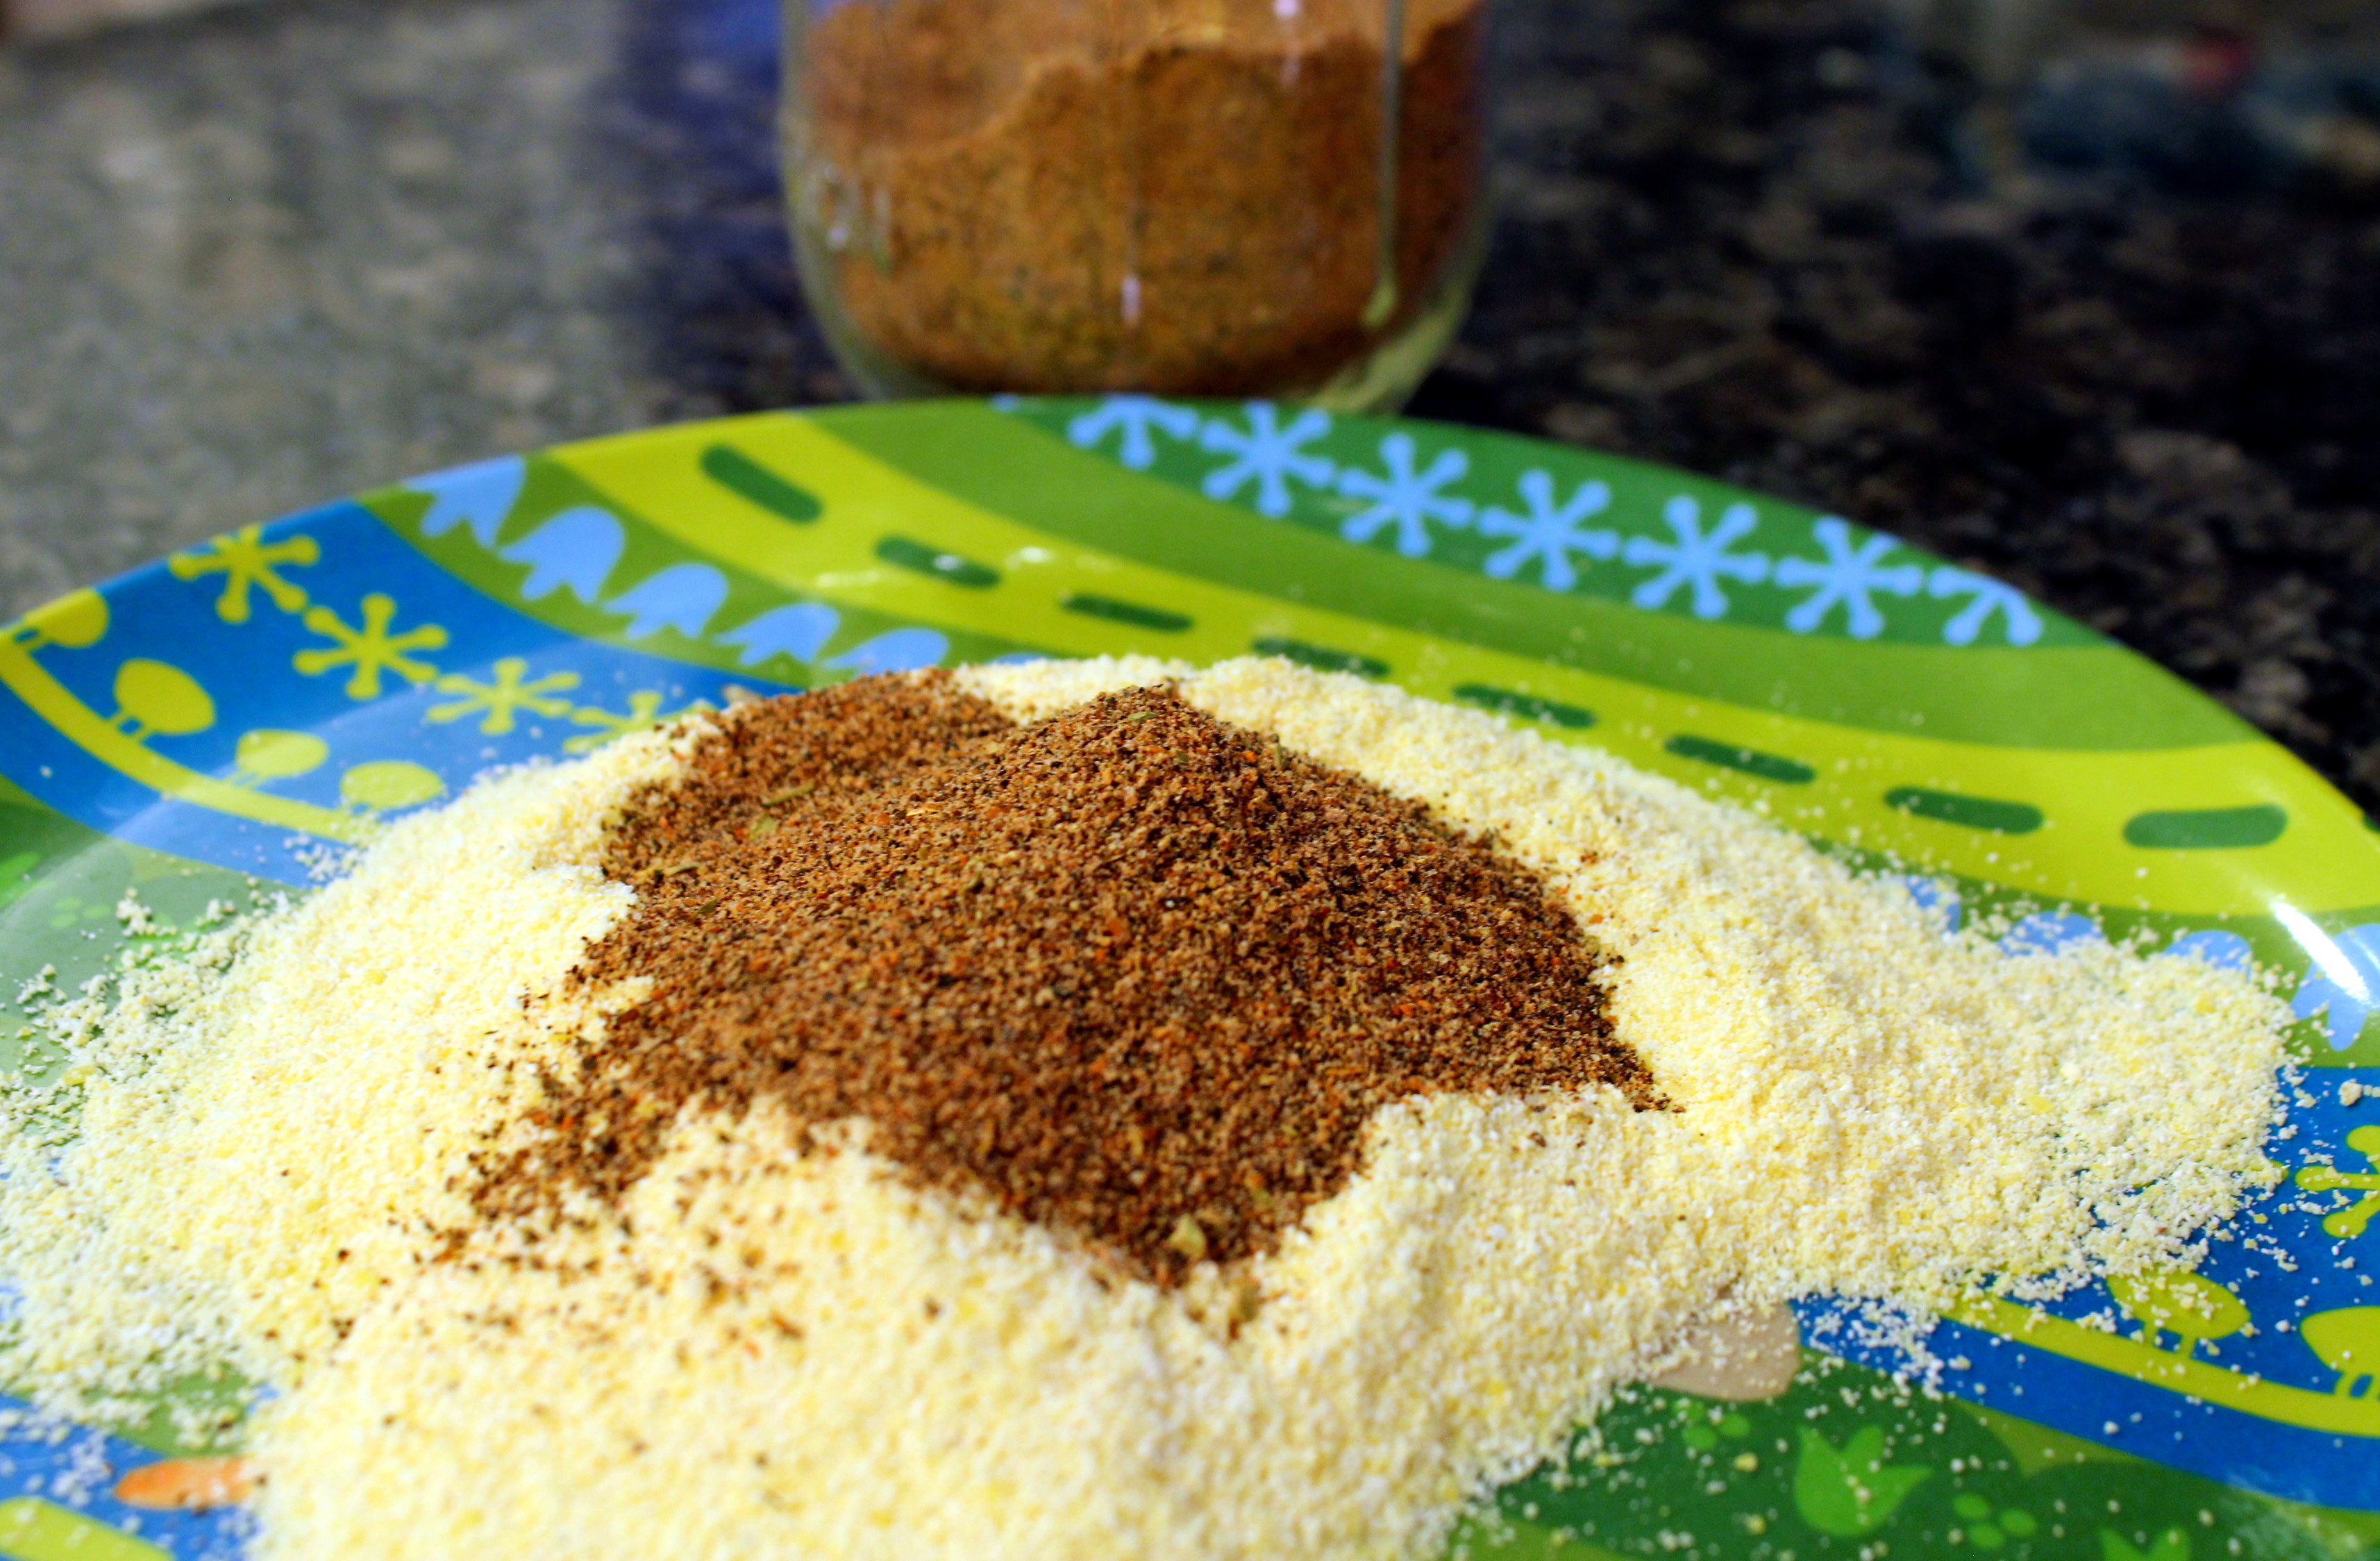
Cornmeal and Taco Mix
On a plate, combine cornmeal and taco seasoning mix. Next crack the egg into a a bowl and beat.
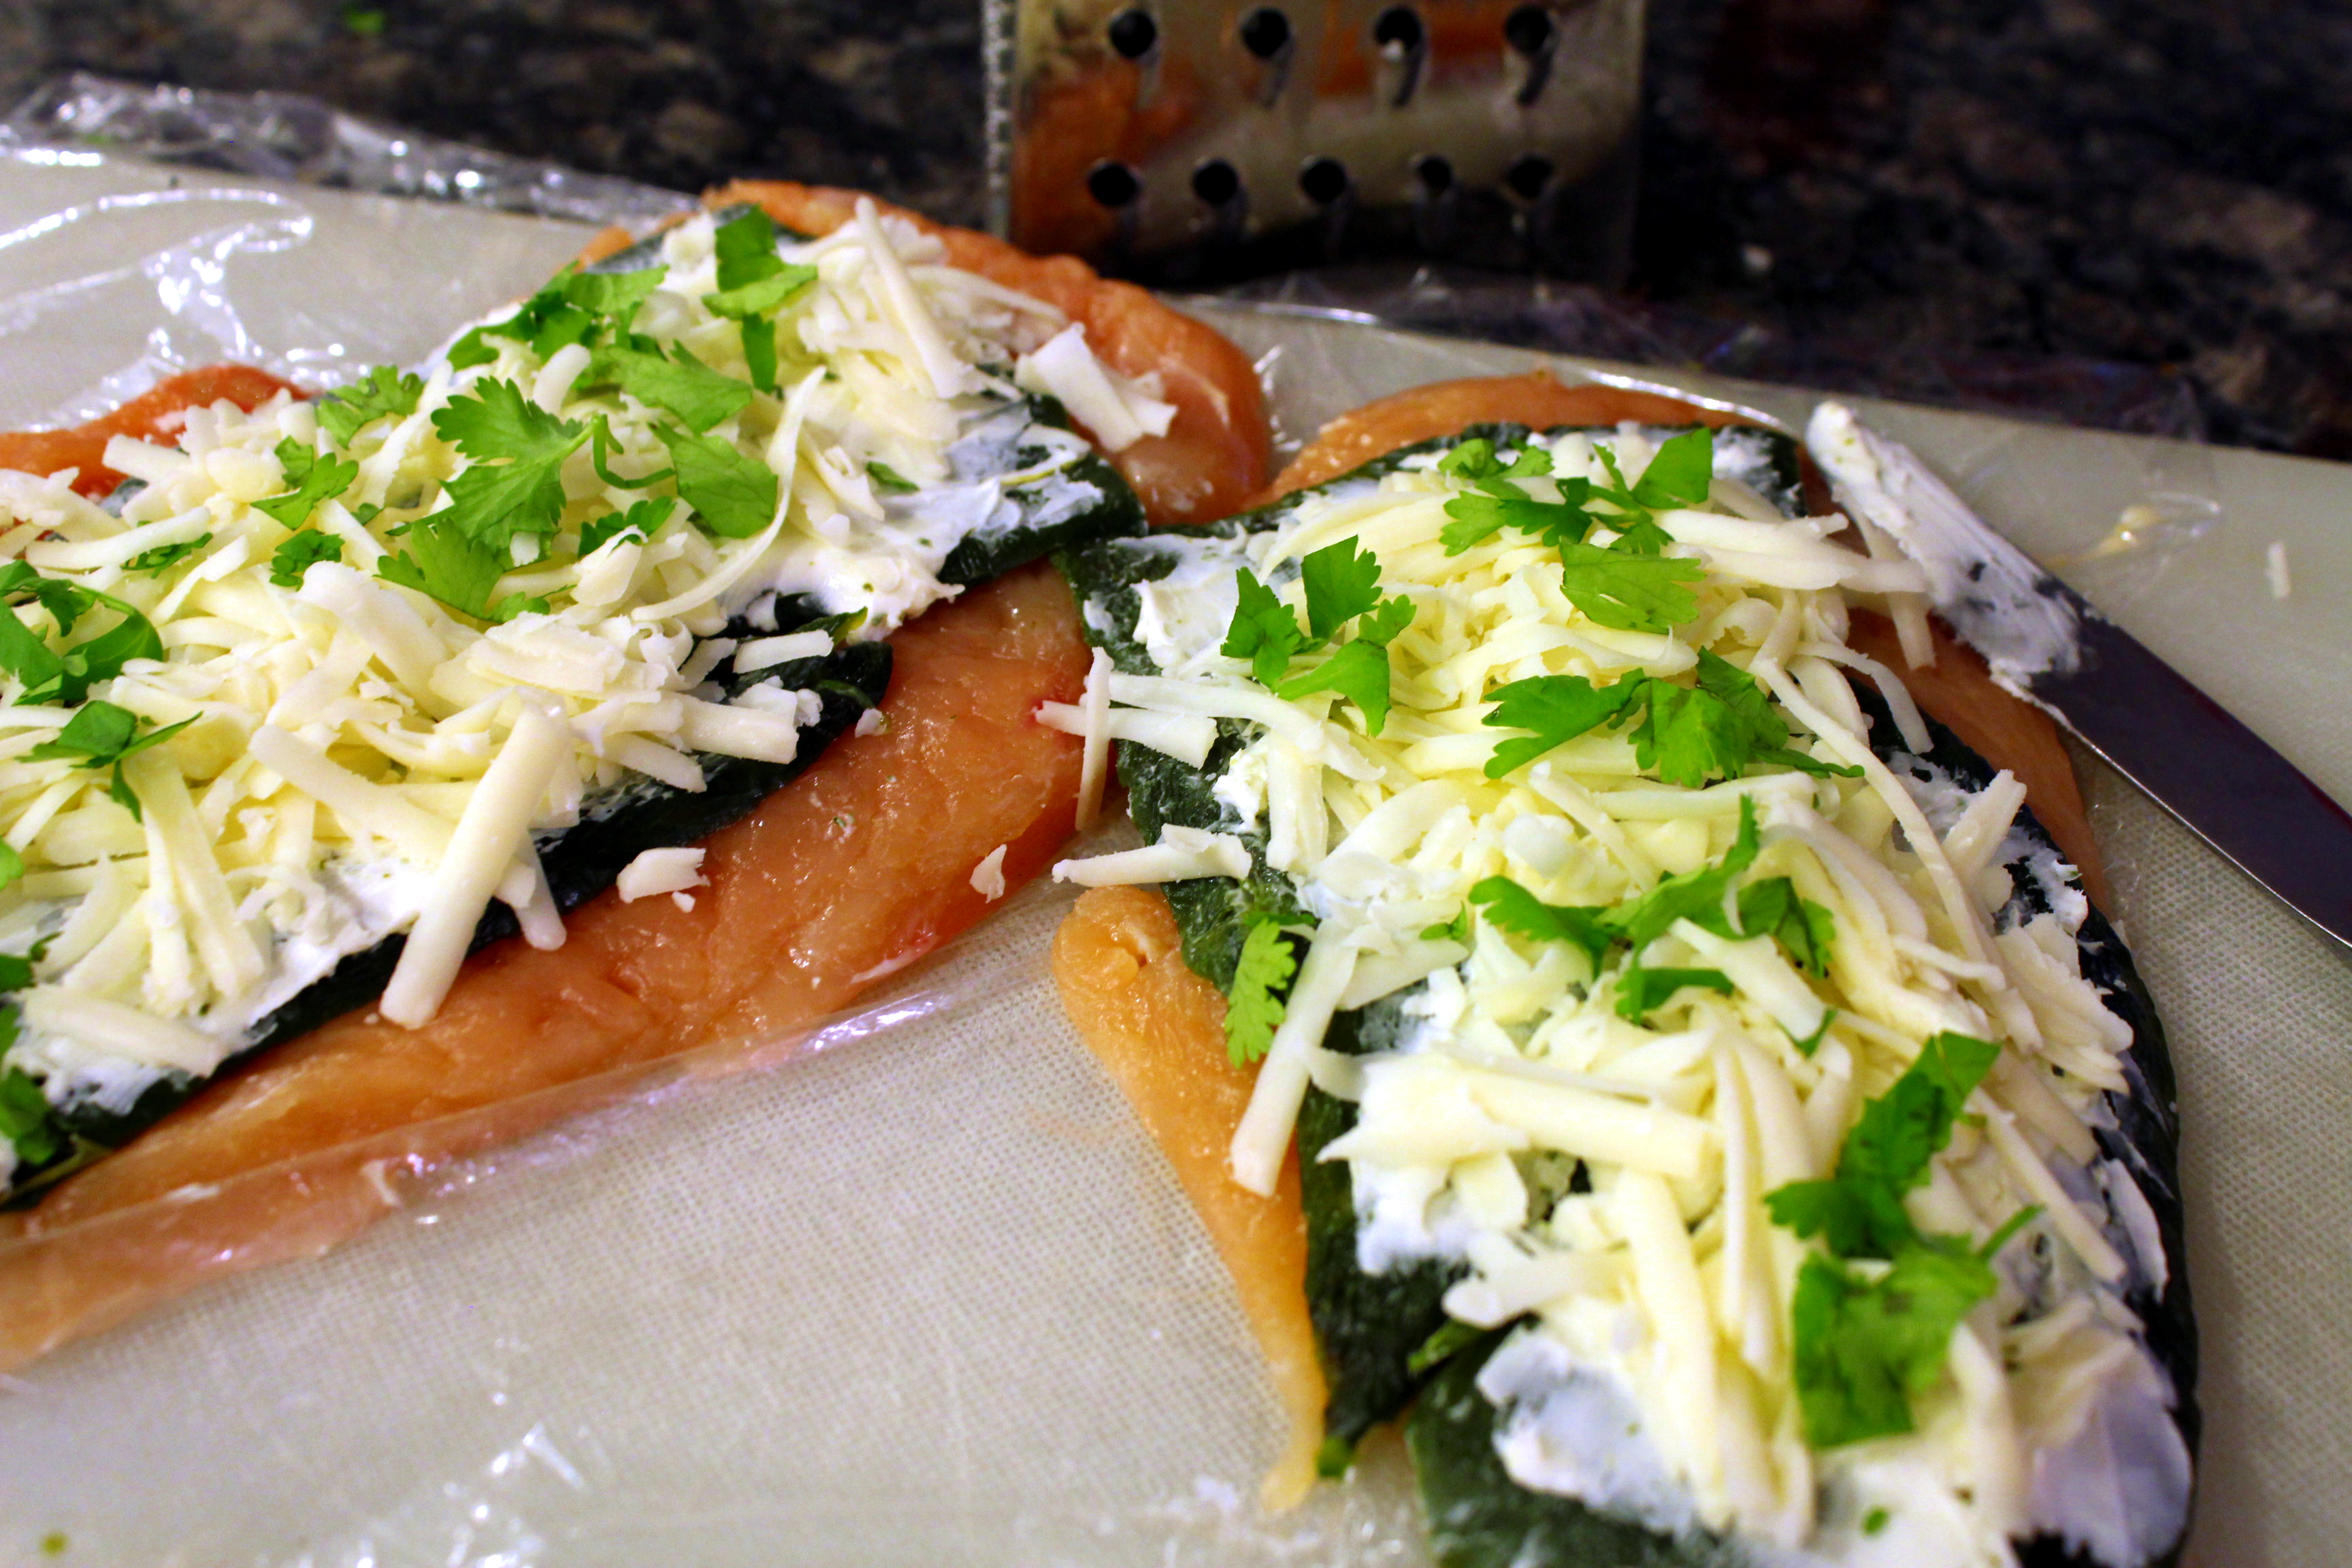
Assembly time! On each piece of chicken, arrange the roasted peppers.
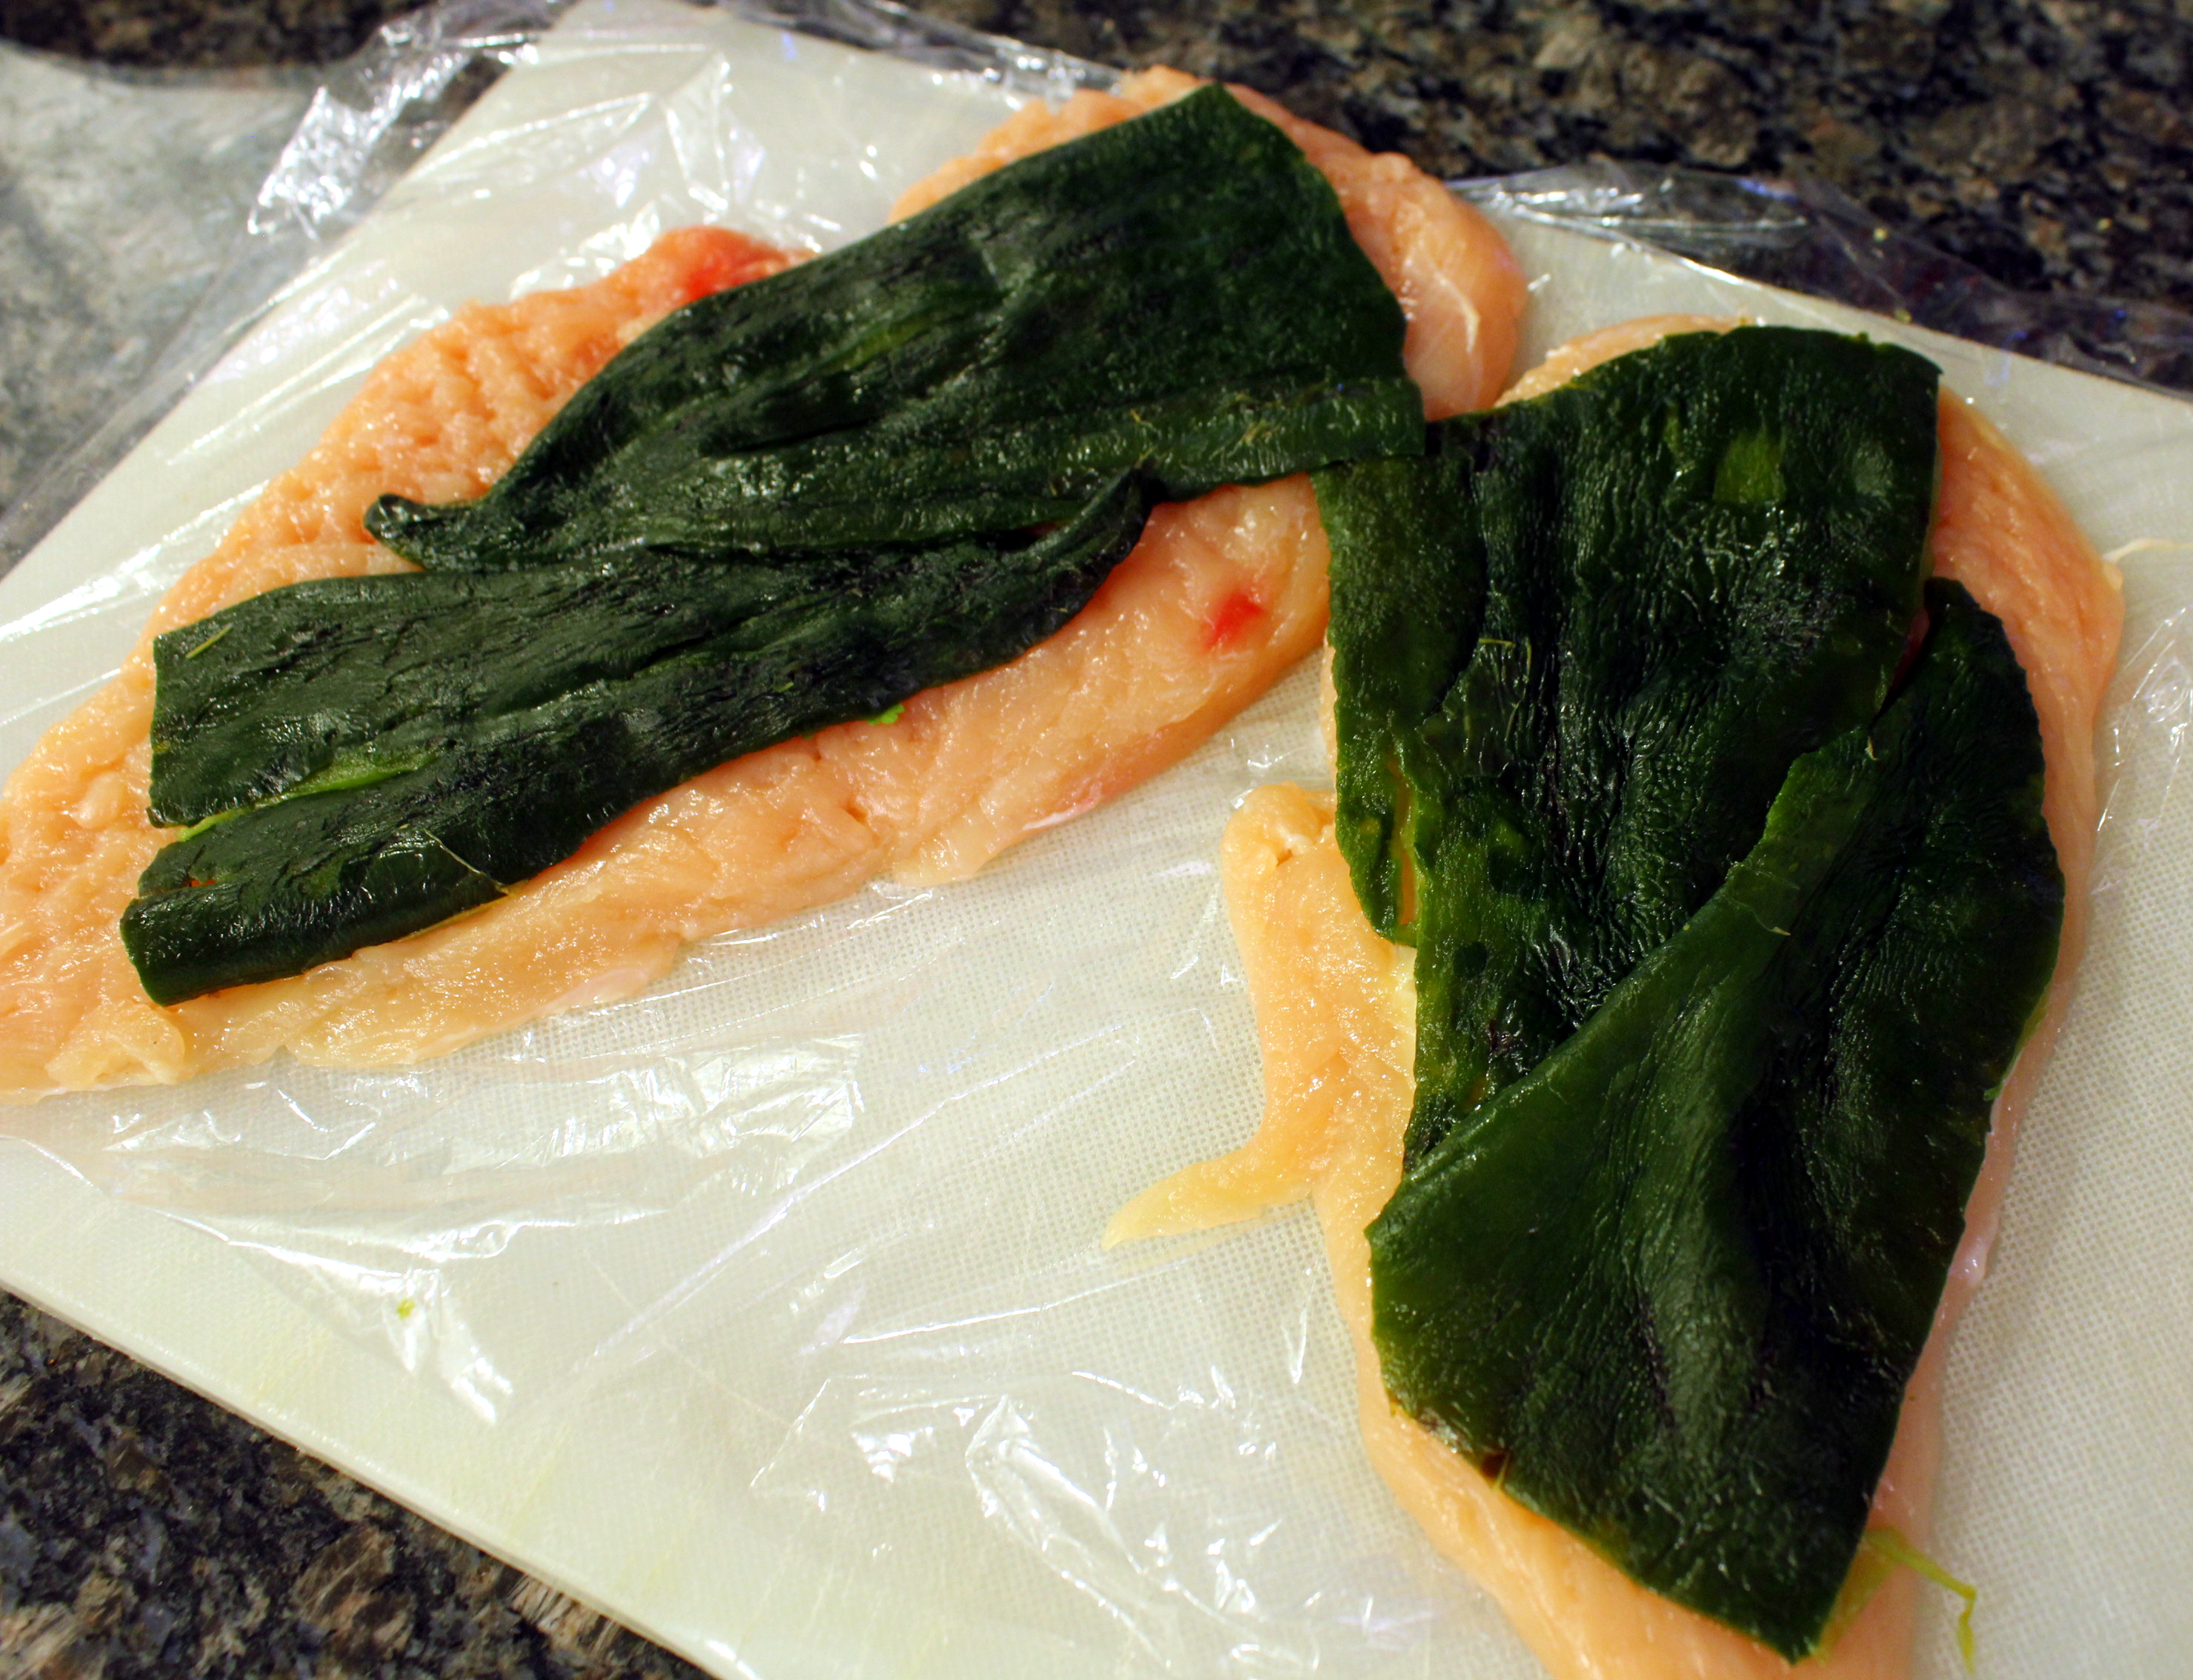
Assembling the Rollups
Spread a thin layer of cream cheese over the peppers, then top with grated Monterey Jack cheese. Sprinkle the chopped cilantro over the cheese.
Chicken Rellenos Ready to Roll Up
Starting with the narrowest end of chicken, roll up and then secure with toothpicks. The larger chicken breast was a little more difficult to handle, but I finally wrangled all the filling into it!
Carefully dip the rollups into the beaten egg, then press into the cornmeal mix on all sides. Place the assembled chicken seam-side down into a casserole dish sprayed with oil. Spray the tops and the sides of the chicken with additional oil.

Chicken Chile Relleno Rollups Ready to Bake
Place in oven and cook for 30 minutes. Garnish with enchilada sauce and sour cream, and serve with pinto beans and rice.

Chile Relleno Chicken Rollups

Download and Print this Yummy Recipe!