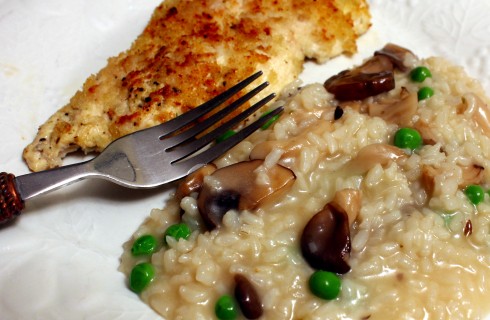
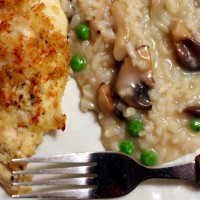
Shrimp and Spinach Risotto
Here’s a creamy and comforting dish that’s a little easier on your waistline with those terms than say, mac and cheese. Although I wouldn’t be one to pass that up either! Risotto is typically made with a short-grained Italian rice called Arborio, which I used here. But if you can’t find that or it’s a bit spendy at your store, you could use a sushi rice or even Calrose. Even a plain ol’ medium grain white rice would work, but it won’t be as creamy.
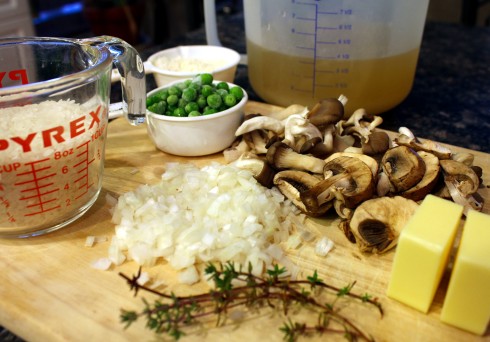
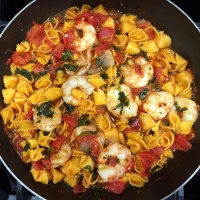
Leaving the shrimp whole would make this dish quite a bit prettier to present, but let’s face it — who wants to be cutting up their shrimp when you have some hot and creamy spinach risotto waiting to dig into?! Have everything chopped/prepped up front for this. You’ll also want to use some homemade or high-quality chicken broth with this, along with a good dry white wine, such as Pinot Grigio. A dish with a short shopping list needs quality for it to shine!
Shrimp and Spinach Risotto
4 cups homemade or good-quality chicken broth
1/2 pound large shrimp, peeled, deveined and cut into bite-sized pieces
Salt and pepper, to taste
3 tablespoons butter, divided
1 clove garlic, peeled and minced
1/2 cup chopped onion
1 cup Arborio rice
1/4 cup dry white wine
A pinch or two of red chile flakes (optional)
6 ounces chopped fresh spinach
1 teaspoon fresh lemon juice
1/2 cup quality shredded Parmesan

Shrimp and Garlic
Heat the chicken broth in a saucepan or microwave until steaming. Season the shrimp with salt and pepper, to taste. Melt one tablespoon of the butter in a large skillet over medium-high heat, then add the garlic and shrimp. Cook the shrimp for just a few minutes on each side, until starting to turn opaque. Remove with a slotted spoon and set aside, and cover to keep warm.

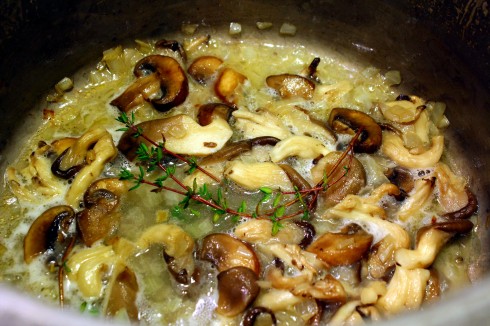
Risotto Beginnings
Add another tablespoon of butter to the pan, then add the chopped onion. Cook for about 5 minutes, then add the rice and toss to coat. Cook for a few more minutes until the rice begins to color. Add the white wine and simmer and stir until the wine is completely absorbed by the rice. At this point, because I couldn’t resist, add a pinch or two of red chile flakes if you want.

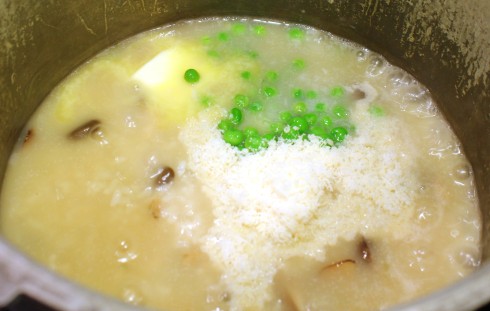
Adding the Spinach
Using a ladle or measuring cup, add about 1/2 cup of hot chicken broth to the rice. Simmer and stir until the liquid is absorbed. Keep repeating this process, ensuring the liquid is absorbed before the next ladle, until the broth is almost gone, stirring constantly. Headphones with music is fun during this task, stir to the beat! Just before the last ladle of broth is used, stir in a tablespoon of butter, the spinach, shrimp, lemon juice, and then the Parmesan. Stir to completely combine, then add just enough of remaining broth to loosen it up. Stir until the spinach is wilted and the shrimp is cooked through, then serve immediately.

Good Quality Parmesan to Finish

Download and Print this Yummy Recipe!