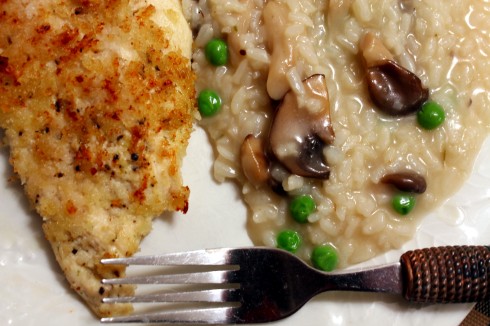
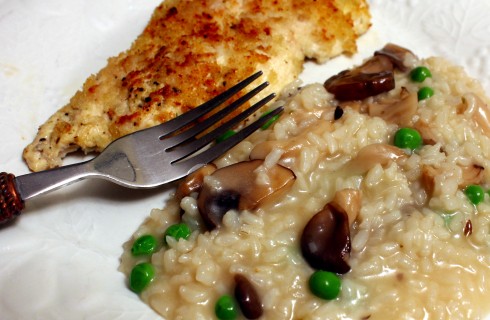
Sausage and Spinach Pasta with Homemade Ricotta
This is a very quick and easy dinner to throw together, especially if you have your favorite homemade spaghetti sauce stashed in the freezer (nevermindthefacthatIjustgotlaidoffanddon’tneedtimesavingrecipesrightnow). And if you make the ricotta in the morning (or even use store-bought) then you are way ahead of the game! And pssst, did you know making your own ricotta is super easy? I sure didn’t!
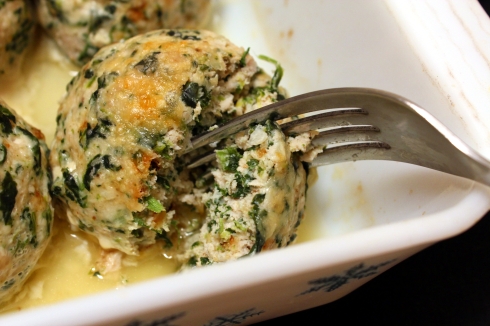
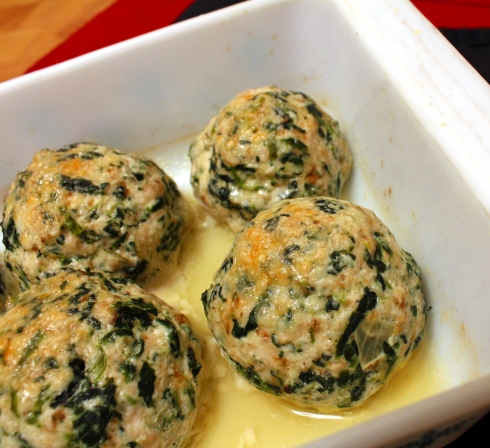
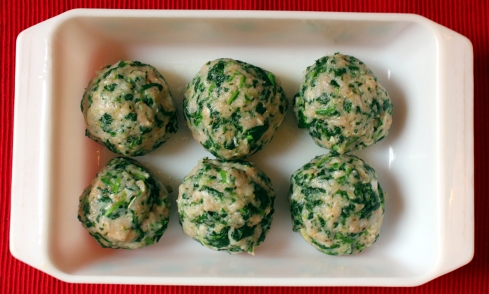
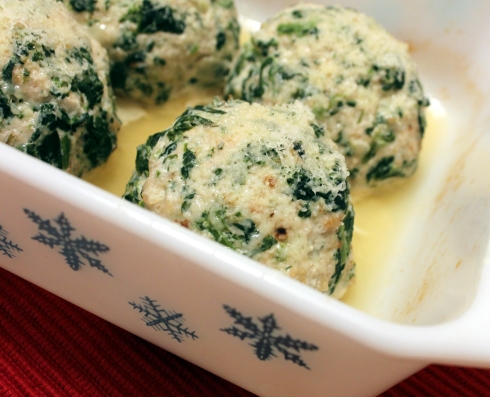
Prior to my life-changing event on Friday, I was always looking for dinner shortcuts. When I saw my friend Debbie’s post for Baked Pasta with Meatballs and Spinach, I knew it was something I totally wanted to make, but didn’t have the time to bother with making meatballs. So I did the next best thing and used the meatball ingredients as the base for the pasta. In hindsight, if I had made this in my large cast-iron skillet, I could have just popped it straight from the stove top into the oven! (I didn’t have the foresight, but I’m going to remember this for sure next time.)
Sausage and Spinach Pasta with Homemade Ricotta
Adapted from The Mountain Kitchen
2 cups dried pasta (I used Mostaccioli)
8 ounces ground hot Italian sausage
6 ounces baby spinach
Ground pepper, to taste (some red chile flakes would be great too)
4 cups homemade spaghetti sauce, or your favorite jarred
1 cup shredded mozzarella (not bagged variety)
1/2 cup ricotta cheese (homemade or store bought)
Preheat oven to 350 degrees. Cook pasta according to package directions.
Meanwhile, cook the sausage in a large skillet (cast iron if you have one!) until cooked through. Drain any grease, if necessary. Leaving the sausage in the pan, add 1/4 cup water and the spinach, stirring until wilted. Season with ground pepper, to taste.

Sausage and Spinach
Add the spaghetti sauce to the skillet, combine, and bring to a simmer.

Sauce Mixture
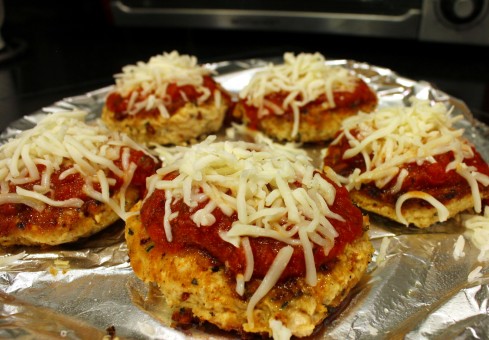
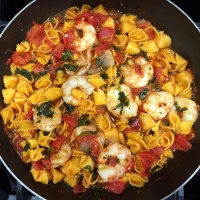
Pour into a large casserole dish (or leave in in the skillet if using cast-iron), then stir in the cooked pasta, half the mozzarella and half the ricotta cheese. Sprinkle with the rest of the mozzarella and place dollops of the remaining ricotta over top.

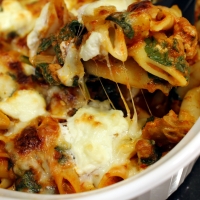
Casserole Ready to Bake
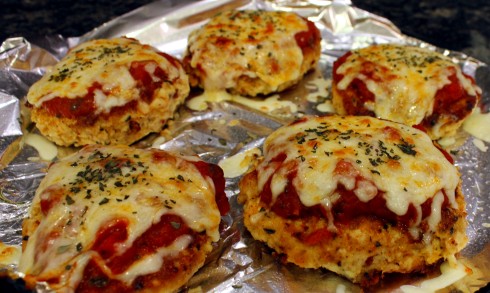
Place in oven for about 10 minutes, then turn the oven to broil and cook until golden brown on top, about 5 to 7 more minutes. Serve immediately. WOW, so much flavor for so few ingredients!

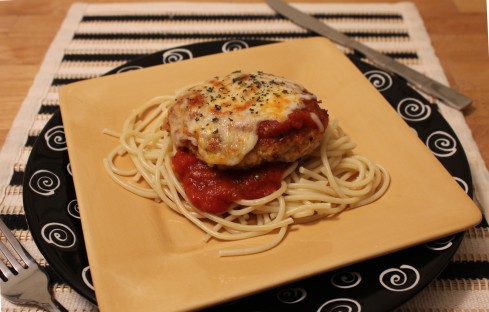
Sausage and Spinach Pasta with Homemade Ricotta
BONUS! Here’s Debbie’s recipe for Homemade Ricotta:
Homemade Ricotta
4 cups whole milk
2 cups heavy cream
1 teaspoon salt
3 tablespoons white wine vinegar or lemon juice

Homemade Ricotta Cheese
Add 2 layers of cheesecloth (I used meshed cotton veggie bags) over a sieve or strainer on top of a bowl. Pour the milk and cream into a saucepan and bring to a full boil, stirring occasionally. Watch it carefully so it doesn’t overboil! Turn off heat and stir in the vinegar or lemon juice and let it sit for a few minutes. Pour the mixture over the cheesecloth and allow it to drain for about 25 minutes. Then place in refrigerator for several hours or overnight. Store unused cheese in a tightly sealed container in the refrigerator.