Tag Archives: can

The Campbell’s Bean with Bacon Soup Experiment

19 Feb
Campbell's Bean with Bacon Soup Experiment

Campbell’s Bean with Bacon Soup Experiment

Hey wait a minute! Don’t click away just yet! I know the word Campbell’s and Experiment in the same line might lead you to run away in culinary terror, but this was a mission. A mission to replicate this red and white childhood favorite can of good ole’ American soup without all the nasties in it. Well, as many as I possibly could without compromising the original goal. I kind of crack myself up, as the tomato soup’s goal last week was to NOT taste like the canned version. No wonder my husband never understands me.

If you look up recipes for “copycat” Campbell’s bean with bacon soup, you will find in the recipe comments that many readers say it didn’t taste anything like the soup in the can. Then if you look at the ingredients they used, then the ingredients on the can, it’s no wonder.

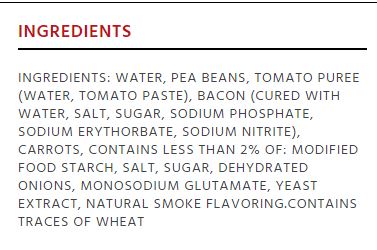
Campbell's Bean with Bacon Soup Ingredients

Campbell’s Bean with Bacon Soup Ingredients

I printed out the ingredients label and studied it to come up with a reasonable facsimile. Besides water, pea beans is the first ingredient. According to Wikipidia: “in the USA the name ‘pea bean’ is also used to describe small white common beans.” Well the beans from my local bulk food store section seemed to fit this perfectly, as the name on the bin was “small white beans.”

Tomato puree was a no-brainer, I used tomato paste and water. Bacon and carrots? Yep, I can do that. I skipped over all the unknown and nasty stuff, and then saw dehydrated onions. I had a whole spice jar of those! Most other recipes used fresh onion, in addition to celery and garlic. As much as I wanted to use all of those, I had to stick to my guns on this one.

Another thing unique to the canned variety is that the carrots and bacon are just wee bits in the soup, not huge chunks.

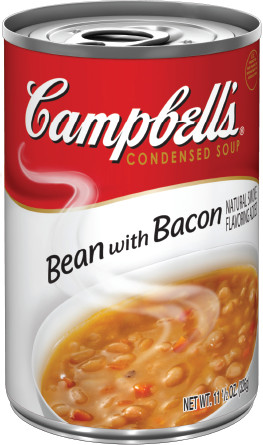
campbellscondensed-bean-with-bacon1

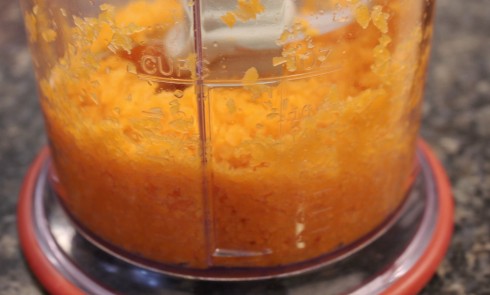
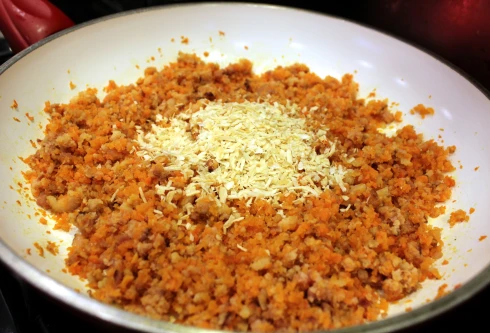
With that in mind, I pulsed both the carrots

Minced Carrots

Minced Carrots

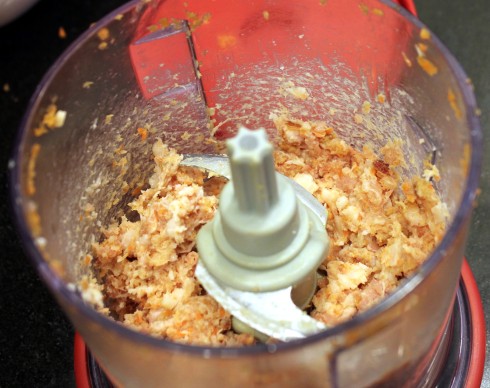
and bacon into minced bits in my Ninja processor before cooking together. I didn’t bother rinsing the Ninja before adding the bacon.

Minced Bacon

Minced Bacon

Sugar is also mentioned twice, so decided to some add brown sugar too, but not too much.

My last dilemma was yeast extract (Marmite anyone?) and natural smoke flavoring. A bit of googling told me that soy sauce has the same umami and flavor profile as yeast extract. My bottle of liquid smoke wasn’t as “natural” in ingredients as I would have desired, but it was Stubb’s so I gave myself a pass on that. I left those out until all the other ingredients had a chance to meld in the slow cooker all day, then would do a taste test. Plus bacon has a smoky flavor, and I used ham stock instead of water, which also has a smoky flavoring. Time would tell.

The Results? Drum roll please…

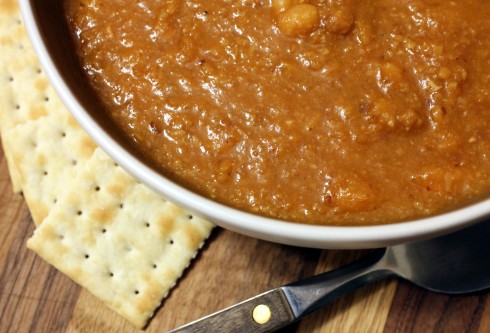
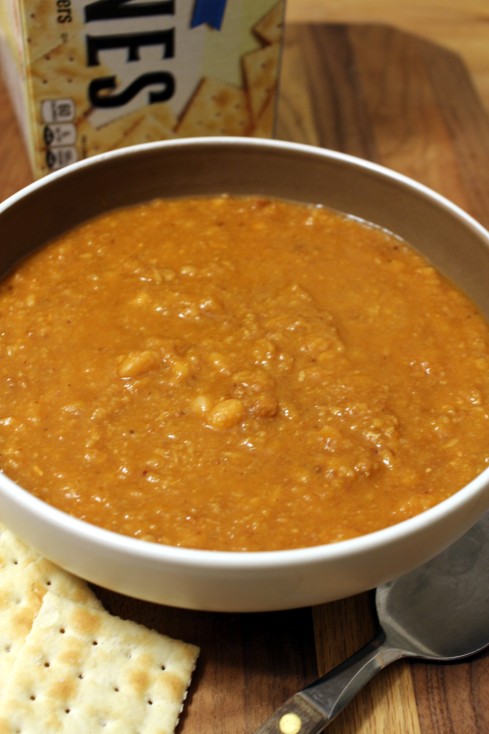
Close — VERY close! The texture was not quite right as I should have removed some beans before pureeing the soup, but I was so excited to use my new immersion blender that I totally bypassed that step.

But when you crunchle in a bunch of saltine crackers, the texture doesn’t matter much at that point because the soup is Mmm, Mmm, Good!

Campbell’s Bean with Bacon Soup Experiment

1 pound small dried white beans, soaked overnight, rinsed and drained
1 cup finely minced carrots
6 slices bacon, finely minced
2 tablespoons dehydrated minced onion
3 tablespoons tomato paste plus one cup water
1/2 tablespoon brown sugar
4 cups homemade ham stock, or water
Low-sodium soy sauce, to taste
Stubb’s liquid smoke (or other brand), to taste

Cook the minced carrots and bacon together in a skillet over medium heat until the bacon starts to crisp, about 15 minutes. It kind of freaked me out because the bacon fat never really released, did the carrots soak it up? At this point add the minced onion then cook for a few more minutes, stirring.

Dehydrated Onion Added to Mixture

Dehydrated Onion Added to Mixture

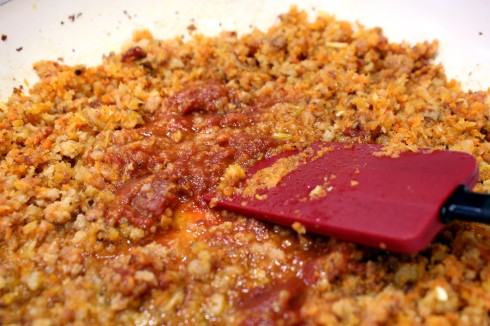
Once the onions look fairly hydrated, add the tomato paste and water, plus the brown sugar and stir to combine.

Tomato Paste Added

Tomato Paste Added

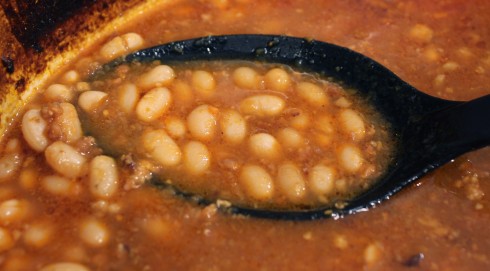
Pour the mixture (which vaguely resembles baby food) into a large slow cooker, then add the ham stock or water, and beans. Stir to combine then cover and cook on low 8 to 10 hours, or high on 4 to 6 hours until the beans are tender. Add additional water as needed. At this point the bacon grease did release, which I removed from the top. It was only about 2 tablespoons.

Soup Before Pureeing

Soup Before Pureeing

Using an immersion blender, puree about half the soup. You can also do this in batches in a blender.  For a really smooth consistency for the base, remove some of the beans before pureeing, then add them back in.

At this point I did a taste test. It still needed some smoky flavoring, so alternated a few dashes at a time between soy sauce and liquid smoke. I stirred and tasted, ate a saltine cracker in between, until I found the right balance. Use caution with liquid smoke, as it is very strong. I might have added one drop too much.

Serve hot in bowls, with lots of saltine crackers on the side. I assembled a quick Caesar salad on the side since this was our dinner. If anyone makes this, please let me know what you think. Did this even come close to your expectations?

Campbell's Bean with Bacon Soup Experiment

Campbell’s Bean with Bacon Soup Experiment


Download and Print this Recipe

Download and Print this Yummy Recipe!


Grilled Beer-Butt Chicken and Tortilla Pizzas

8 Jun
Grilled Pesto Chicken Margherita Pizza

Grilled Pesto Chicken Margherita Pizza

I just love grilling season! Today I present to you several scrumptious selections for summertime suppers. (How’s that for alliteration?) Two of my main attractions are not really recipes, but methodology, as the ingredients and seasonings are entirely up to you.

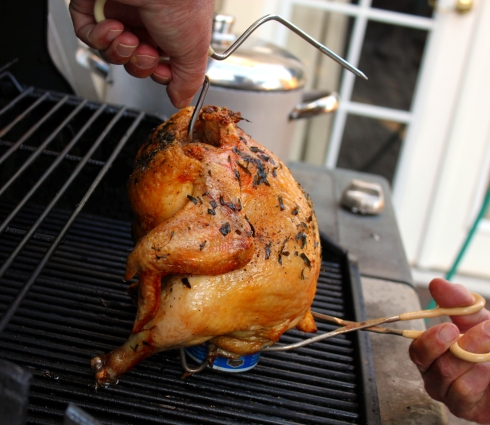
We’ve been grilling beer-butt chicken for many years, and every time we do we are always, ALWAYS, so pleased with how tender the meat is and how yummy-crispy the skin turns out. Seasonings of choice this time included fresh tarragon and sliced lemons. My tarragon plant has gone gangbusters once again, towering at about 18-inches tall and a foot wide. I told hubby to mince the leaves from a couple of sprigs (stalks?) for the outside seasoning and then also stuff the chicken with a couple more whole stalks with the lemons.

We rounded out the meal with some homemade dill potato salad and fresh corn on the cob, also cooked outside on the grill’s propane stove ring. And, of course, we ate outside on the deck under gloriously sunny skies. (At least for the first night of grilling. The next evening was another story.)

Dilled Potato Salad

Dilled Potato Salad

Grilled Beer-Butt Chicken

1 whole chicken
1 12-0unce can of beer, any kind
Vegetable oil
Seasonings, herbs, fruit of choice

Wash the chicken thoroughly inside and out and pat dry with paper towels. Rub the chicken all over with vegetable oil, then season generously with seasonings and herbs of choice. Stuff the inside of the chicken lightly with more herbs and some slices of fruit. You can use lemon, lime, orange, or even apple! But don’t stuff too much in there because remember you have a can of beer that goes up in there too.

Drink half the beer (or poor down the drain if you don’t drink alcohol) then place it on the counter. Take the chicken and grab it by the legs, and shove it right over the beer can until it’s about halfway inserted into the cavity and the legs can touch the counter. Ta-Dah!

Tarragon and Lemon Beer-Butt Chicken

Tarragon and Lemon Beer-Butt Chicken

Preheat the grill on high for about 15 minutes, and then turn the inside burners off so that you will be cooking with indirect heat. For charcoal grills, move the coals to the outside perimeter of the grill after they are burning red. Lay a pan or a sheet of foil in the middle under the grate to catch drips. Now carefully pick the chicken and the beer can up, making sure the can doesn’t slip out.

Place the beer-butt chicken on the center of the grill, arranging the legs to make a tripod so that it balances upright. Cover the grill and cook indirectly for about and hour, maybe a little more, depending on your grill’s heat.

Removing the Chicken from Grill

Removing the Chicken from Grill

Remove from the grill, take out the can, and place the chicken on a platter and let rest for 10 minutes before carving. Serve with sides of choice.

Winner Winner Chicken Dinner

Winner Winner Chicken Dinner

If you have a small family like me, we always have leftover chicken when we cook a whole one and I’m always faced with the dilemma of how to use the leftover chicken. I had been wanting to try my hand at grilling a pizza but for some reason it intimidated me. What on earth was I thinking??? Grilled pizza is easy-peasy, especially when you use flour tortillas for the crust. I’m a huge fan of thin-crust pizza and flour tortillas make the best thin crust I think I’ve ever had.

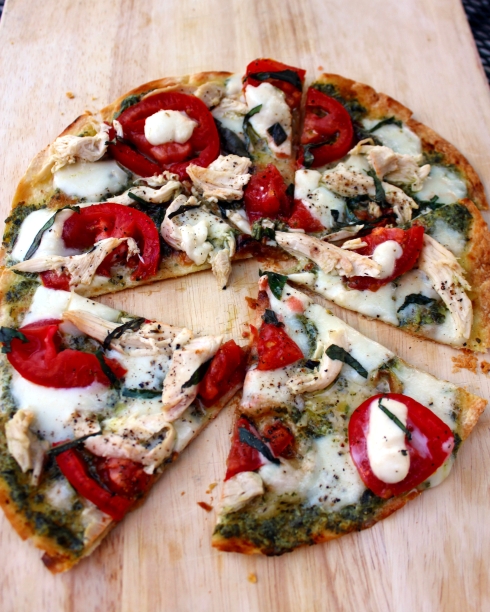
Pesto Chicken Margherita Pizza

Pesto Chicken Margherita Pizza

My husband thought the idea of grilled tortilla pizza was a little strange, so he opted to eat the same meal from the night before from the leftovers. My daughter jumped right in and made herself a traditional pepperoni pizza, while I on the other hand went for a chicken Margherita-type pizza. Let me tell you it was divine! I gave my husband a bite and he was so surprised how good it was. In fact, we are going to use up the last of the chicken tonight and grill pizzas again! This time I’m also going to make a taco-style pizza in addition to the chicken. Just think of the endless possibilities!

Grilled Tortilla Pizzas

Traditional Pepperoni
10-inch flour tortilla
Marinara sauce (from a jar or homemade)
Pizza-blend shredded cheese
Pepperoni slices

Grilling the Pepperoni Pizza

Grilling the Pepperoni Pizza

Pesto Chicken Margherita Pizza
10-inch flour tortilla
Pesto sauce (I used store-bought)
Fresh mozzarella cheese
Shredded cooked chicken
1 tomato, sliced
Fresh basil, ribboned

Preheat grill to medium heat. Spray or lightly brush one side of the tortilla with oil, then grill oil-side down for about 3 minutes. Remove from grill and lightly oil the other side of the tortilla. Spread sauce of choice on the cooked side of the tortilla, then top with cheese and other toppings. Place back on grill, cover, and cook until the cheese is melted, about 5 minutes. Remove, slice, and serve immediately. Molto deliziosa!

Pesto Chicken Margherita Pizza Ready to Grill

Pesto Chicken Margherita Pizza Ready to Grill

Last night when we were grilling, the sun was still out but we were overshadowed by thick plumes of smoke from two wildfires that burst out about 6 miles east of us in the forest. My thoughts and prayers go out to the firefighters for their safety and to all the evacuees who must be so frightened about the possibility of losing their homes.

Two Bulls Fire from Back Deck

View of Two Bulls Fire from our Back Deck