Grilled Pesto Chicken Margherita Pizza
I just love grilling season! Today I present to you several scrumptious selections for summertime suppers. (How’s that for alliteration?) Two of my main attractions are not really recipes, but methodology, as the ingredients and seasonings are entirely up to you.
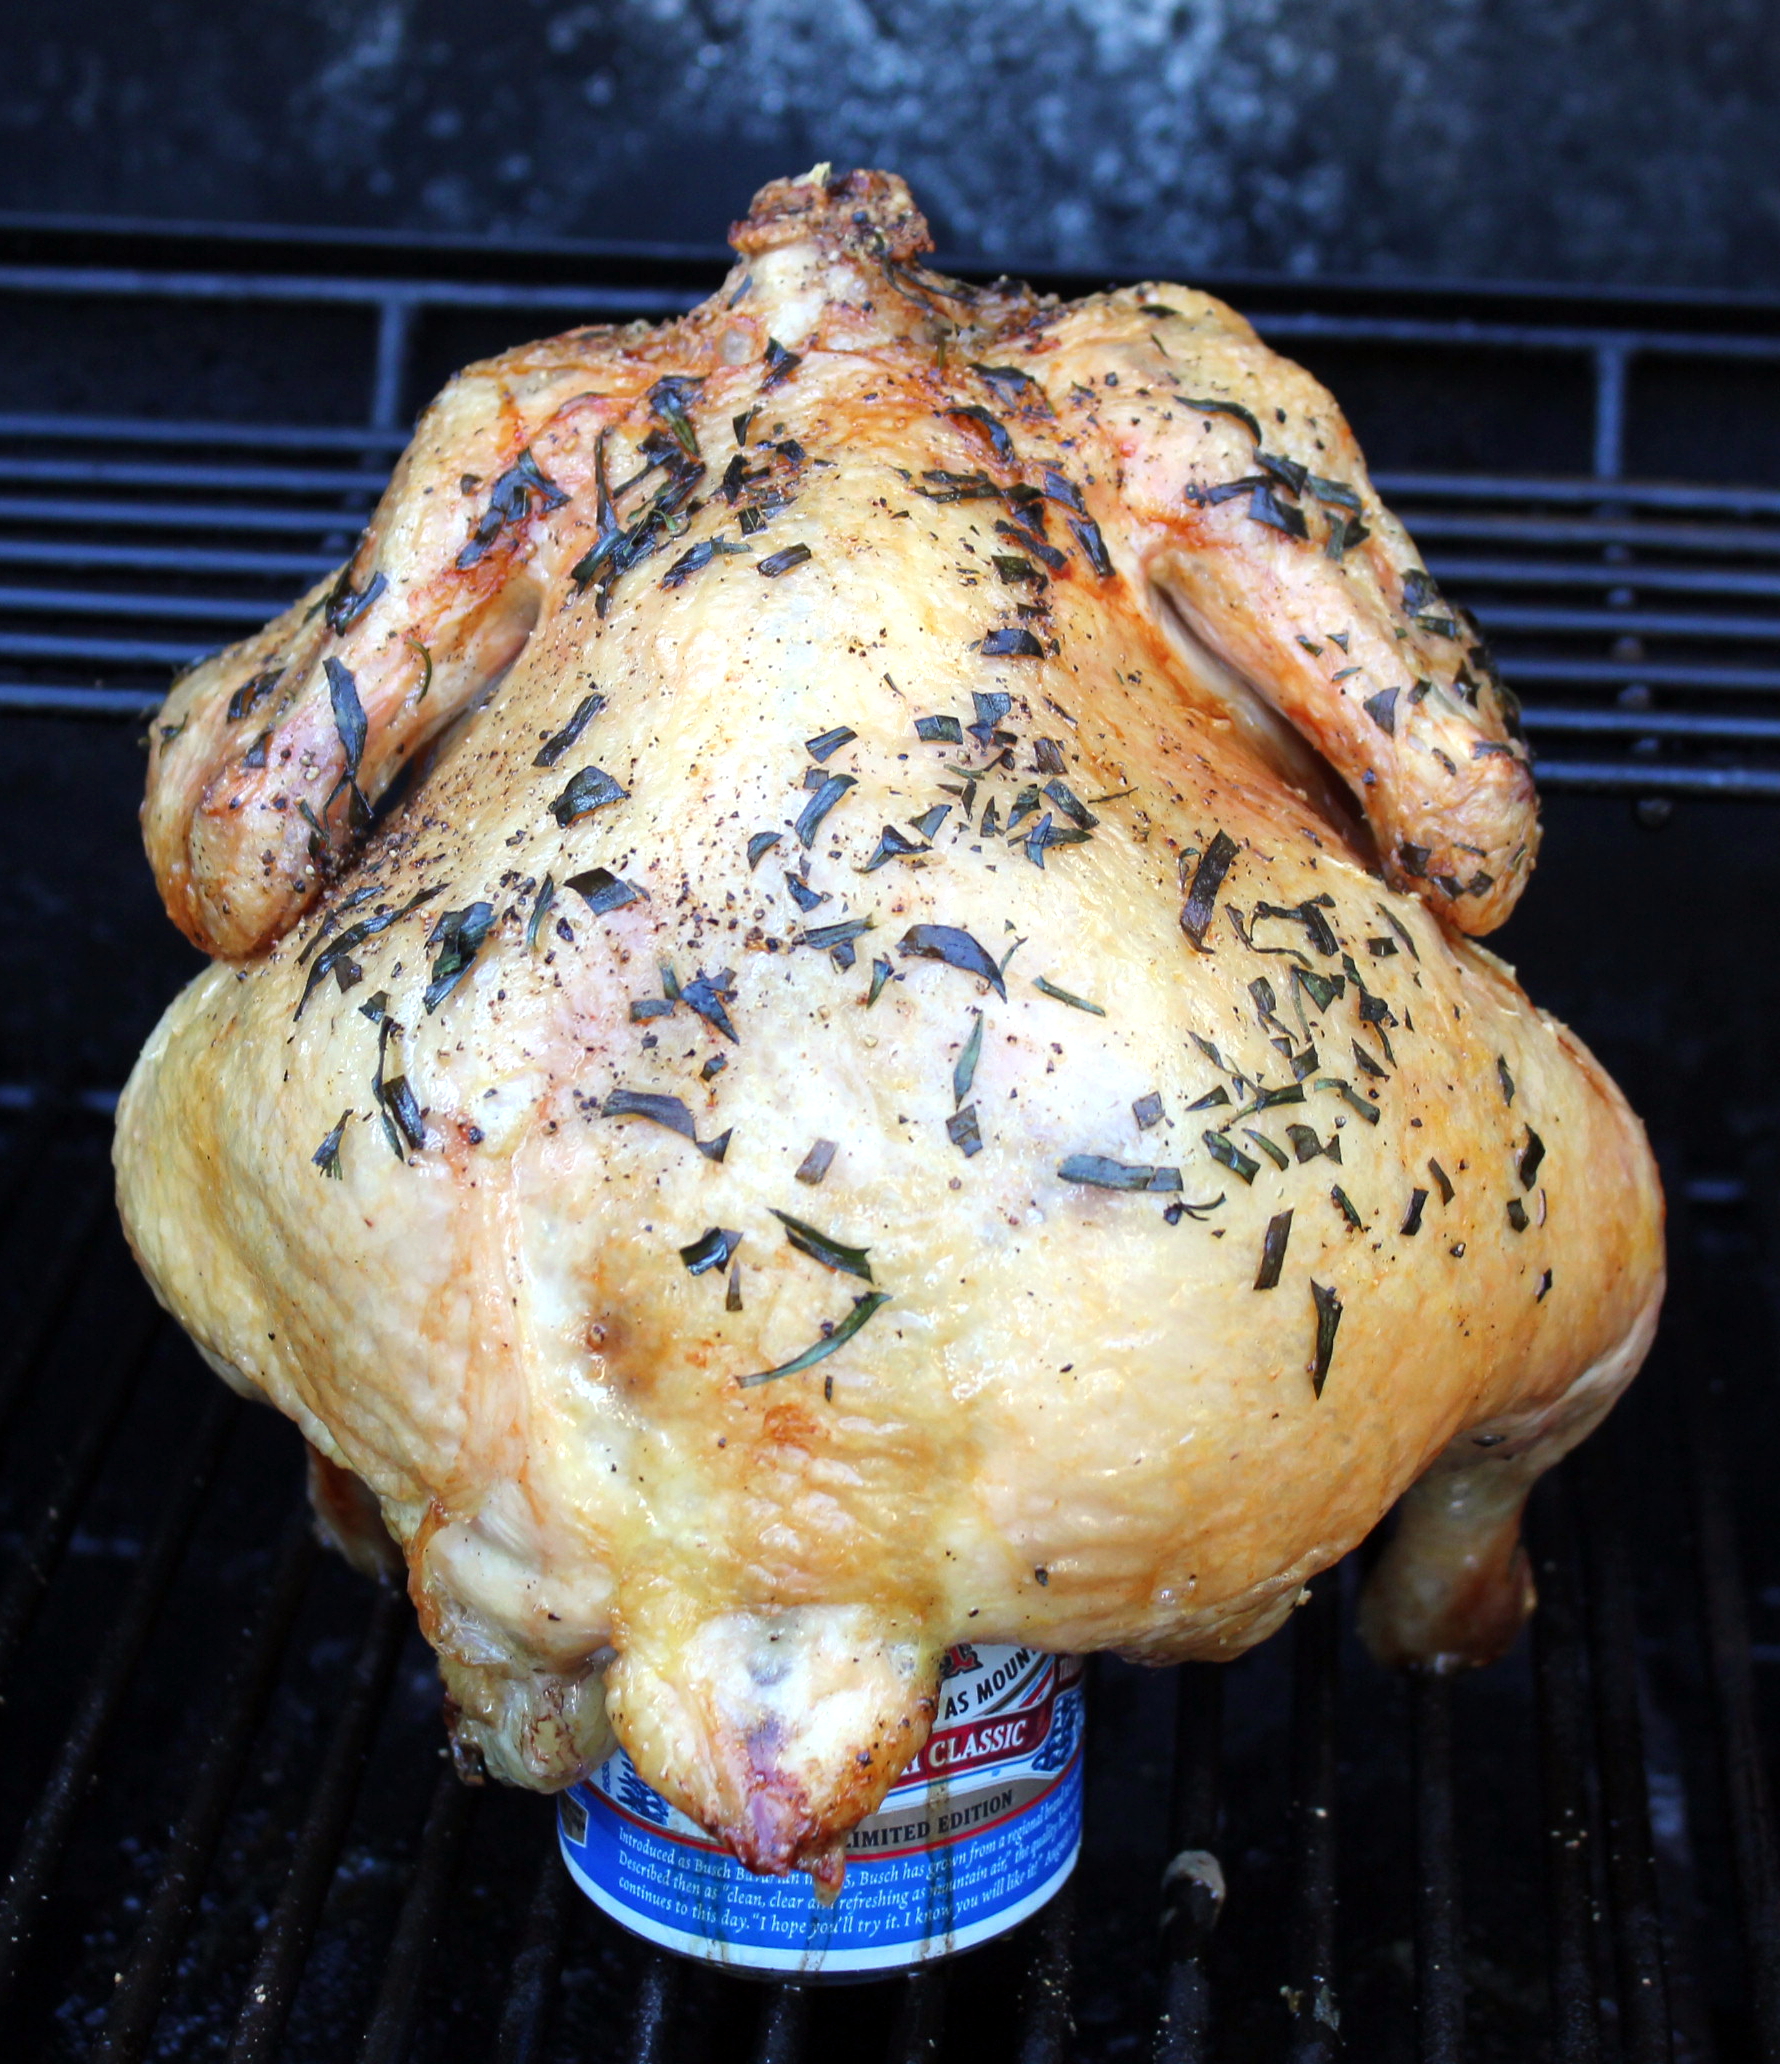
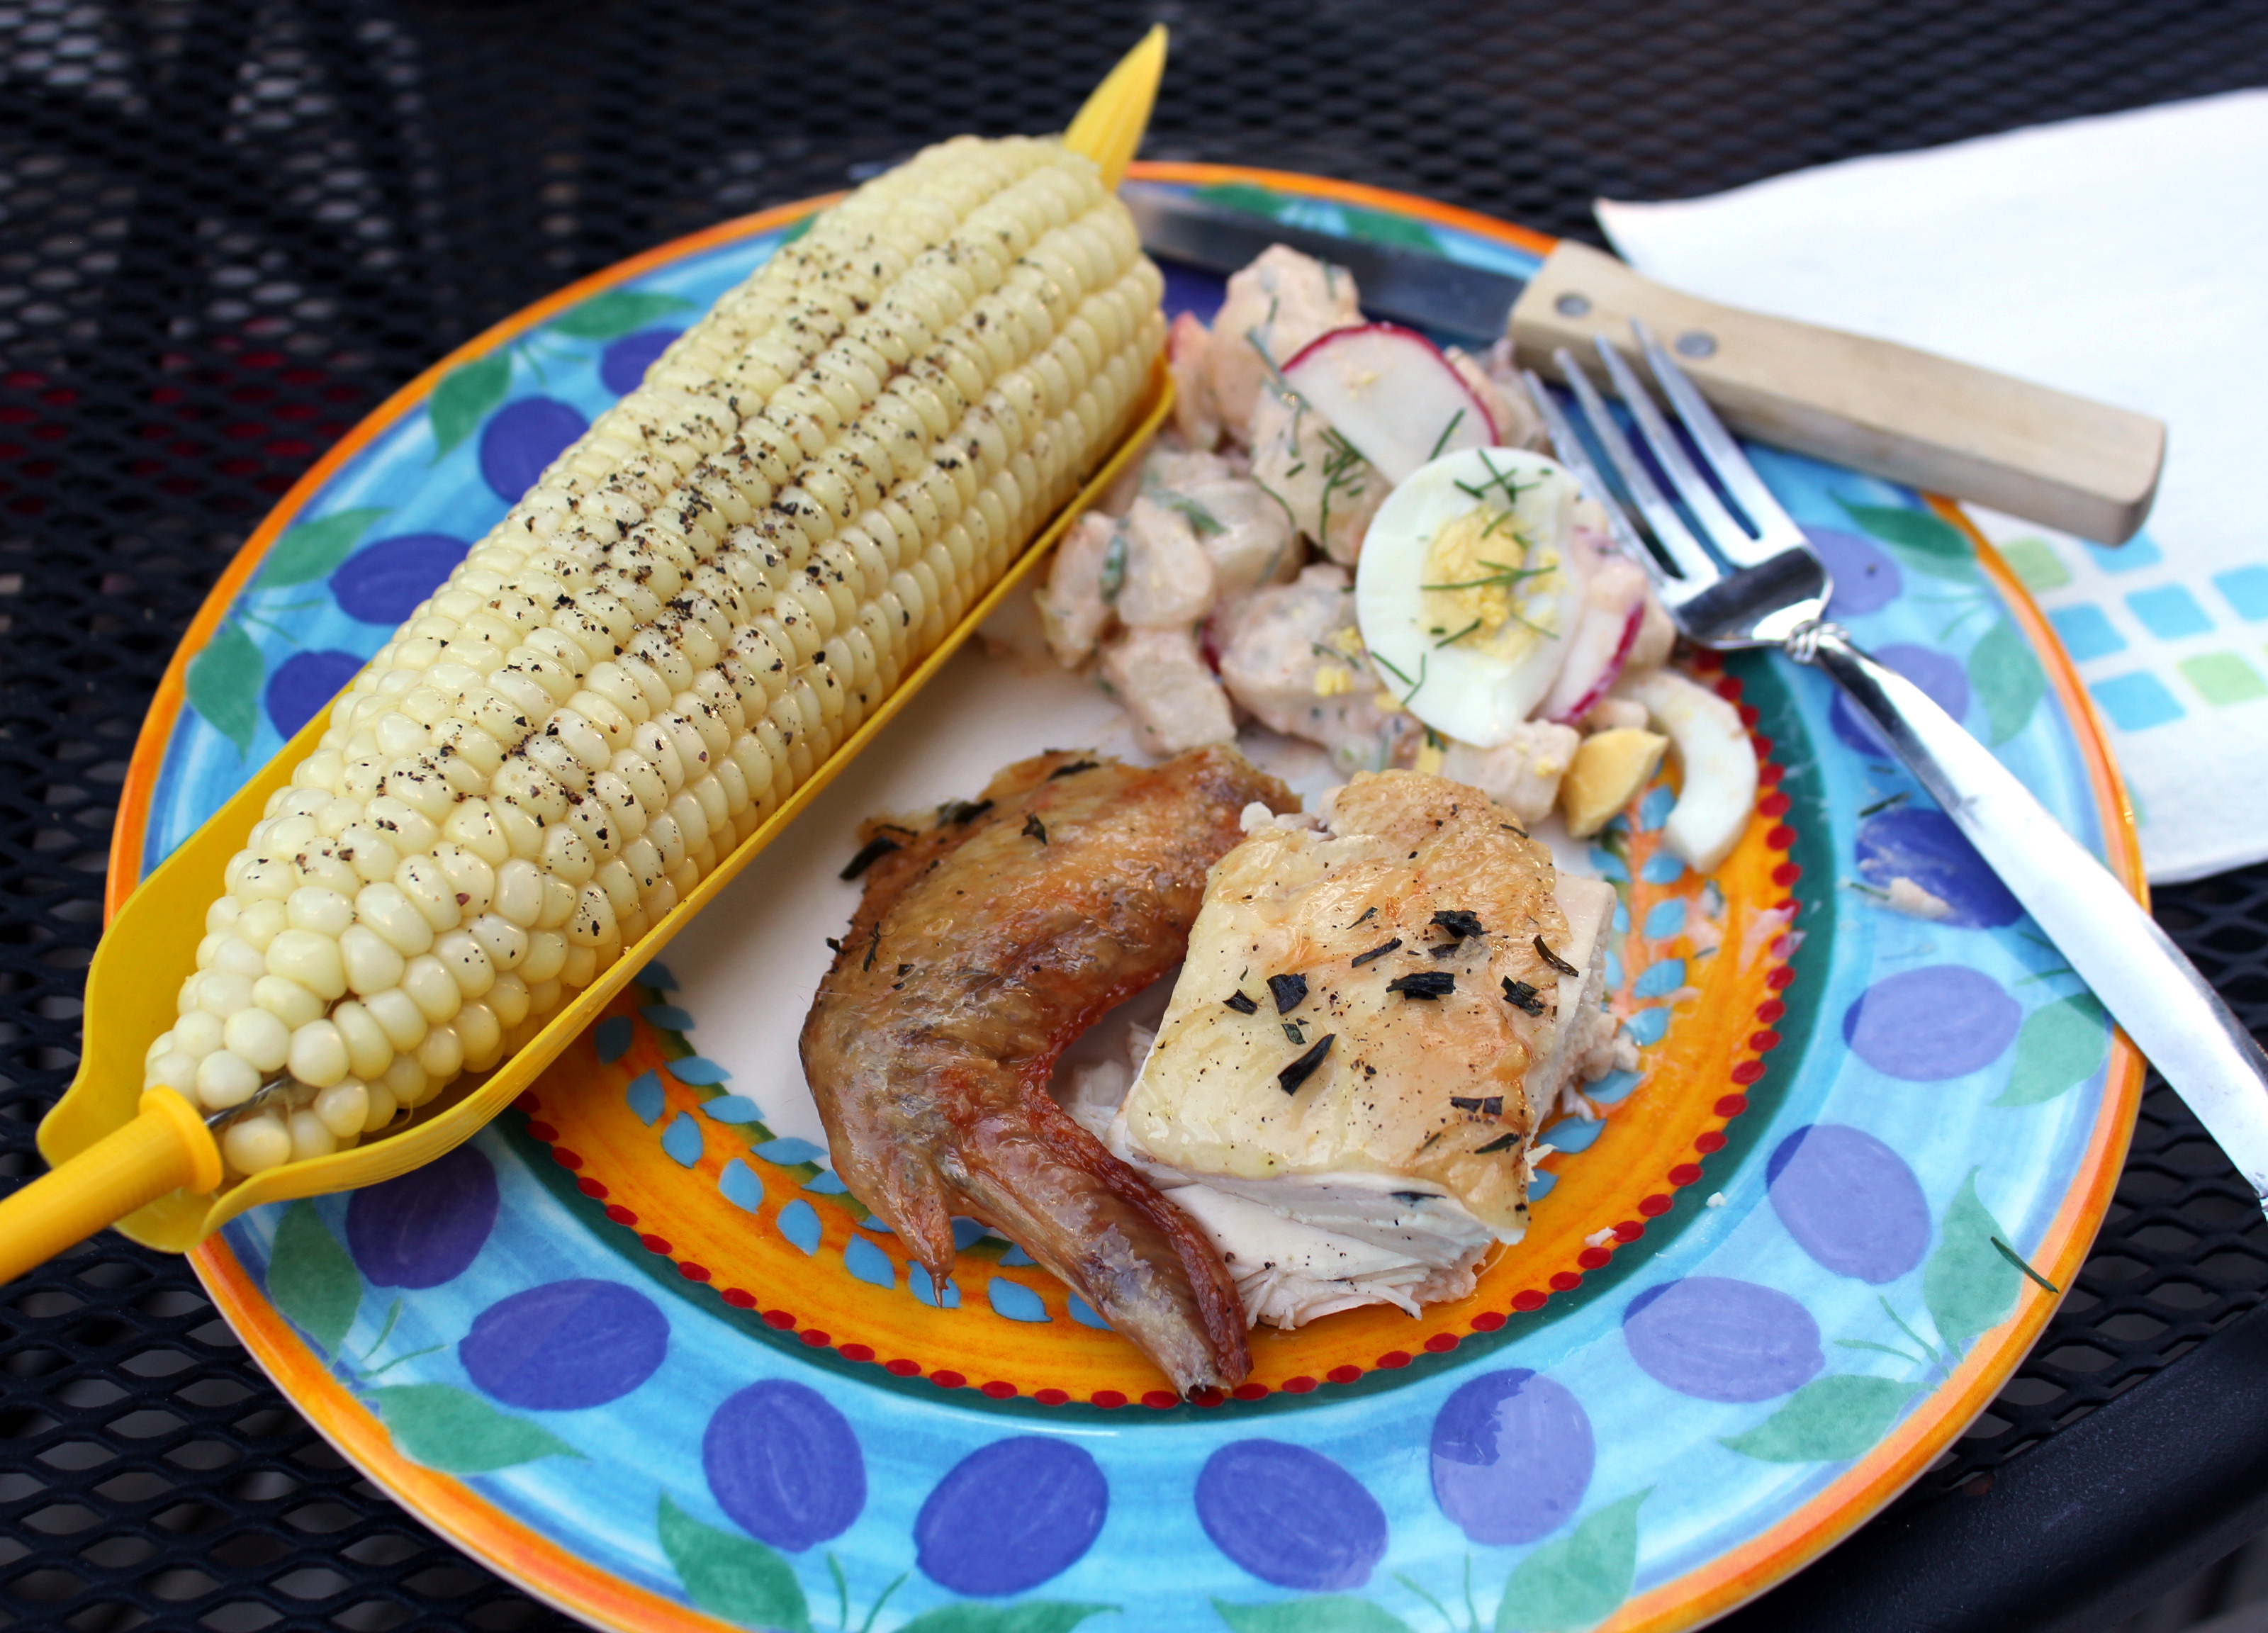
We’ve been grilling beer-butt chicken for many years, and every time we do we are always, ALWAYS, so pleased with how tender the meat is and how yummy-crispy the skin turns out. Seasonings of choice this time included fresh tarragon and sliced lemons. My tarragon plant has gone gangbusters once again, towering at about 18-inches tall and a foot wide. I told hubby to mince the leaves from a couple of sprigs (stalks?) for the outside seasoning and then also stuff the chicken with a couple more whole stalks with the lemons.
We rounded out the meal with some homemade dill potato salad and fresh corn on the cob, also cooked outside on the grill’s propane stove ring. And, of course, we ate outside on the deck under gloriously sunny skies. (At least for the first night of grilling. The next evening was another story.)

Dilled Potato Salad
Grilled Beer-Butt Chicken
1 whole chicken
1 12-0unce can of beer, any kind
Vegetable oil
Seasonings, herbs, fruit of choice
Wash the chicken thoroughly inside and out and pat dry with paper towels. Rub the chicken all over with vegetable oil, then season generously with seasonings and herbs of choice. Stuff the inside of the chicken lightly with more herbs and some slices of fruit. You can use lemon, lime, orange, or even apple! But don’t stuff too much in there because remember you have a can of beer that goes up in there too.
Drink half the beer (or poor down the drain if you don’t drink alcohol) then place it on the counter. Take the chicken and grab it by the legs, and shove it right over the beer can until it’s about halfway inserted into the cavity and the legs can touch the counter. Ta-Dah!

Tarragon and Lemon Beer-Butt Chicken
Preheat the grill on high for about 15 minutes, and then turn the inside burners off so that you will be cooking with indirect heat. For charcoal grills, move the coals to the outside perimeter of the grill after they are burning red. Lay a pan or a sheet of foil in the middle under the grate to catch drips. Now carefully pick the chicken and the beer can up, making sure the can doesn’t slip out.
Place the beer-butt chicken on the center of the grill, arranging the legs to make a tripod so that it balances upright. Cover the grill and cook indirectly for about and hour, maybe a little more, depending on your grill’s heat.
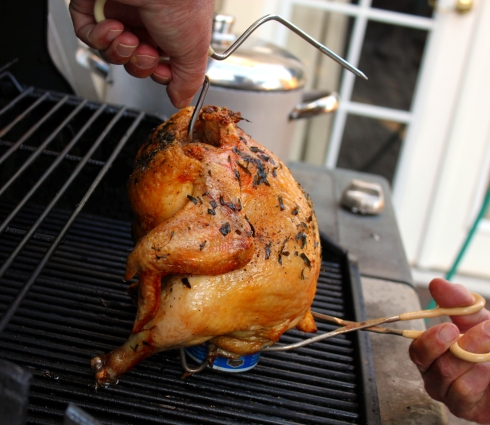
Removing the Chicken from Grill
Remove from the grill, take out the can, and place the chicken on a platter and let rest for 10 minutes before carving. Serve with sides of choice.

Winner Winner Chicken Dinner
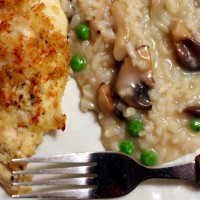
If you have a small family like me, we always have leftover chicken when we cook a whole one and I’m always faced with the dilemma of how to use the leftover chicken. I had been wanting to try my hand at grilling a pizza but for some reason it intimidated me. What on earth was I thinking??? Grilled pizza is easy-peasy, especially when you use flour tortillas for the crust. I’m a huge fan of thin-crust pizza and flour tortillas make the best thin crust I think I’ve ever had.
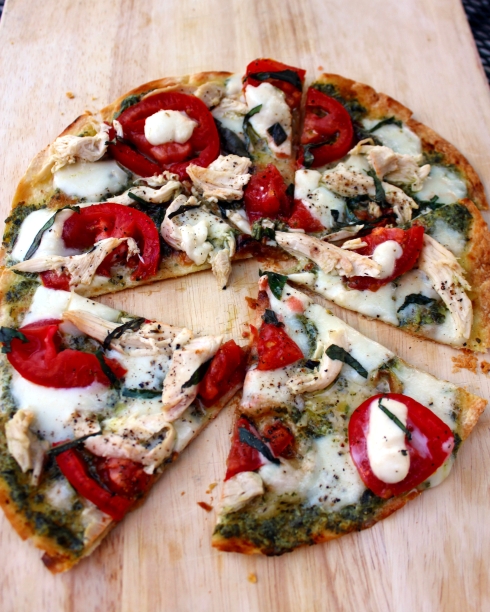
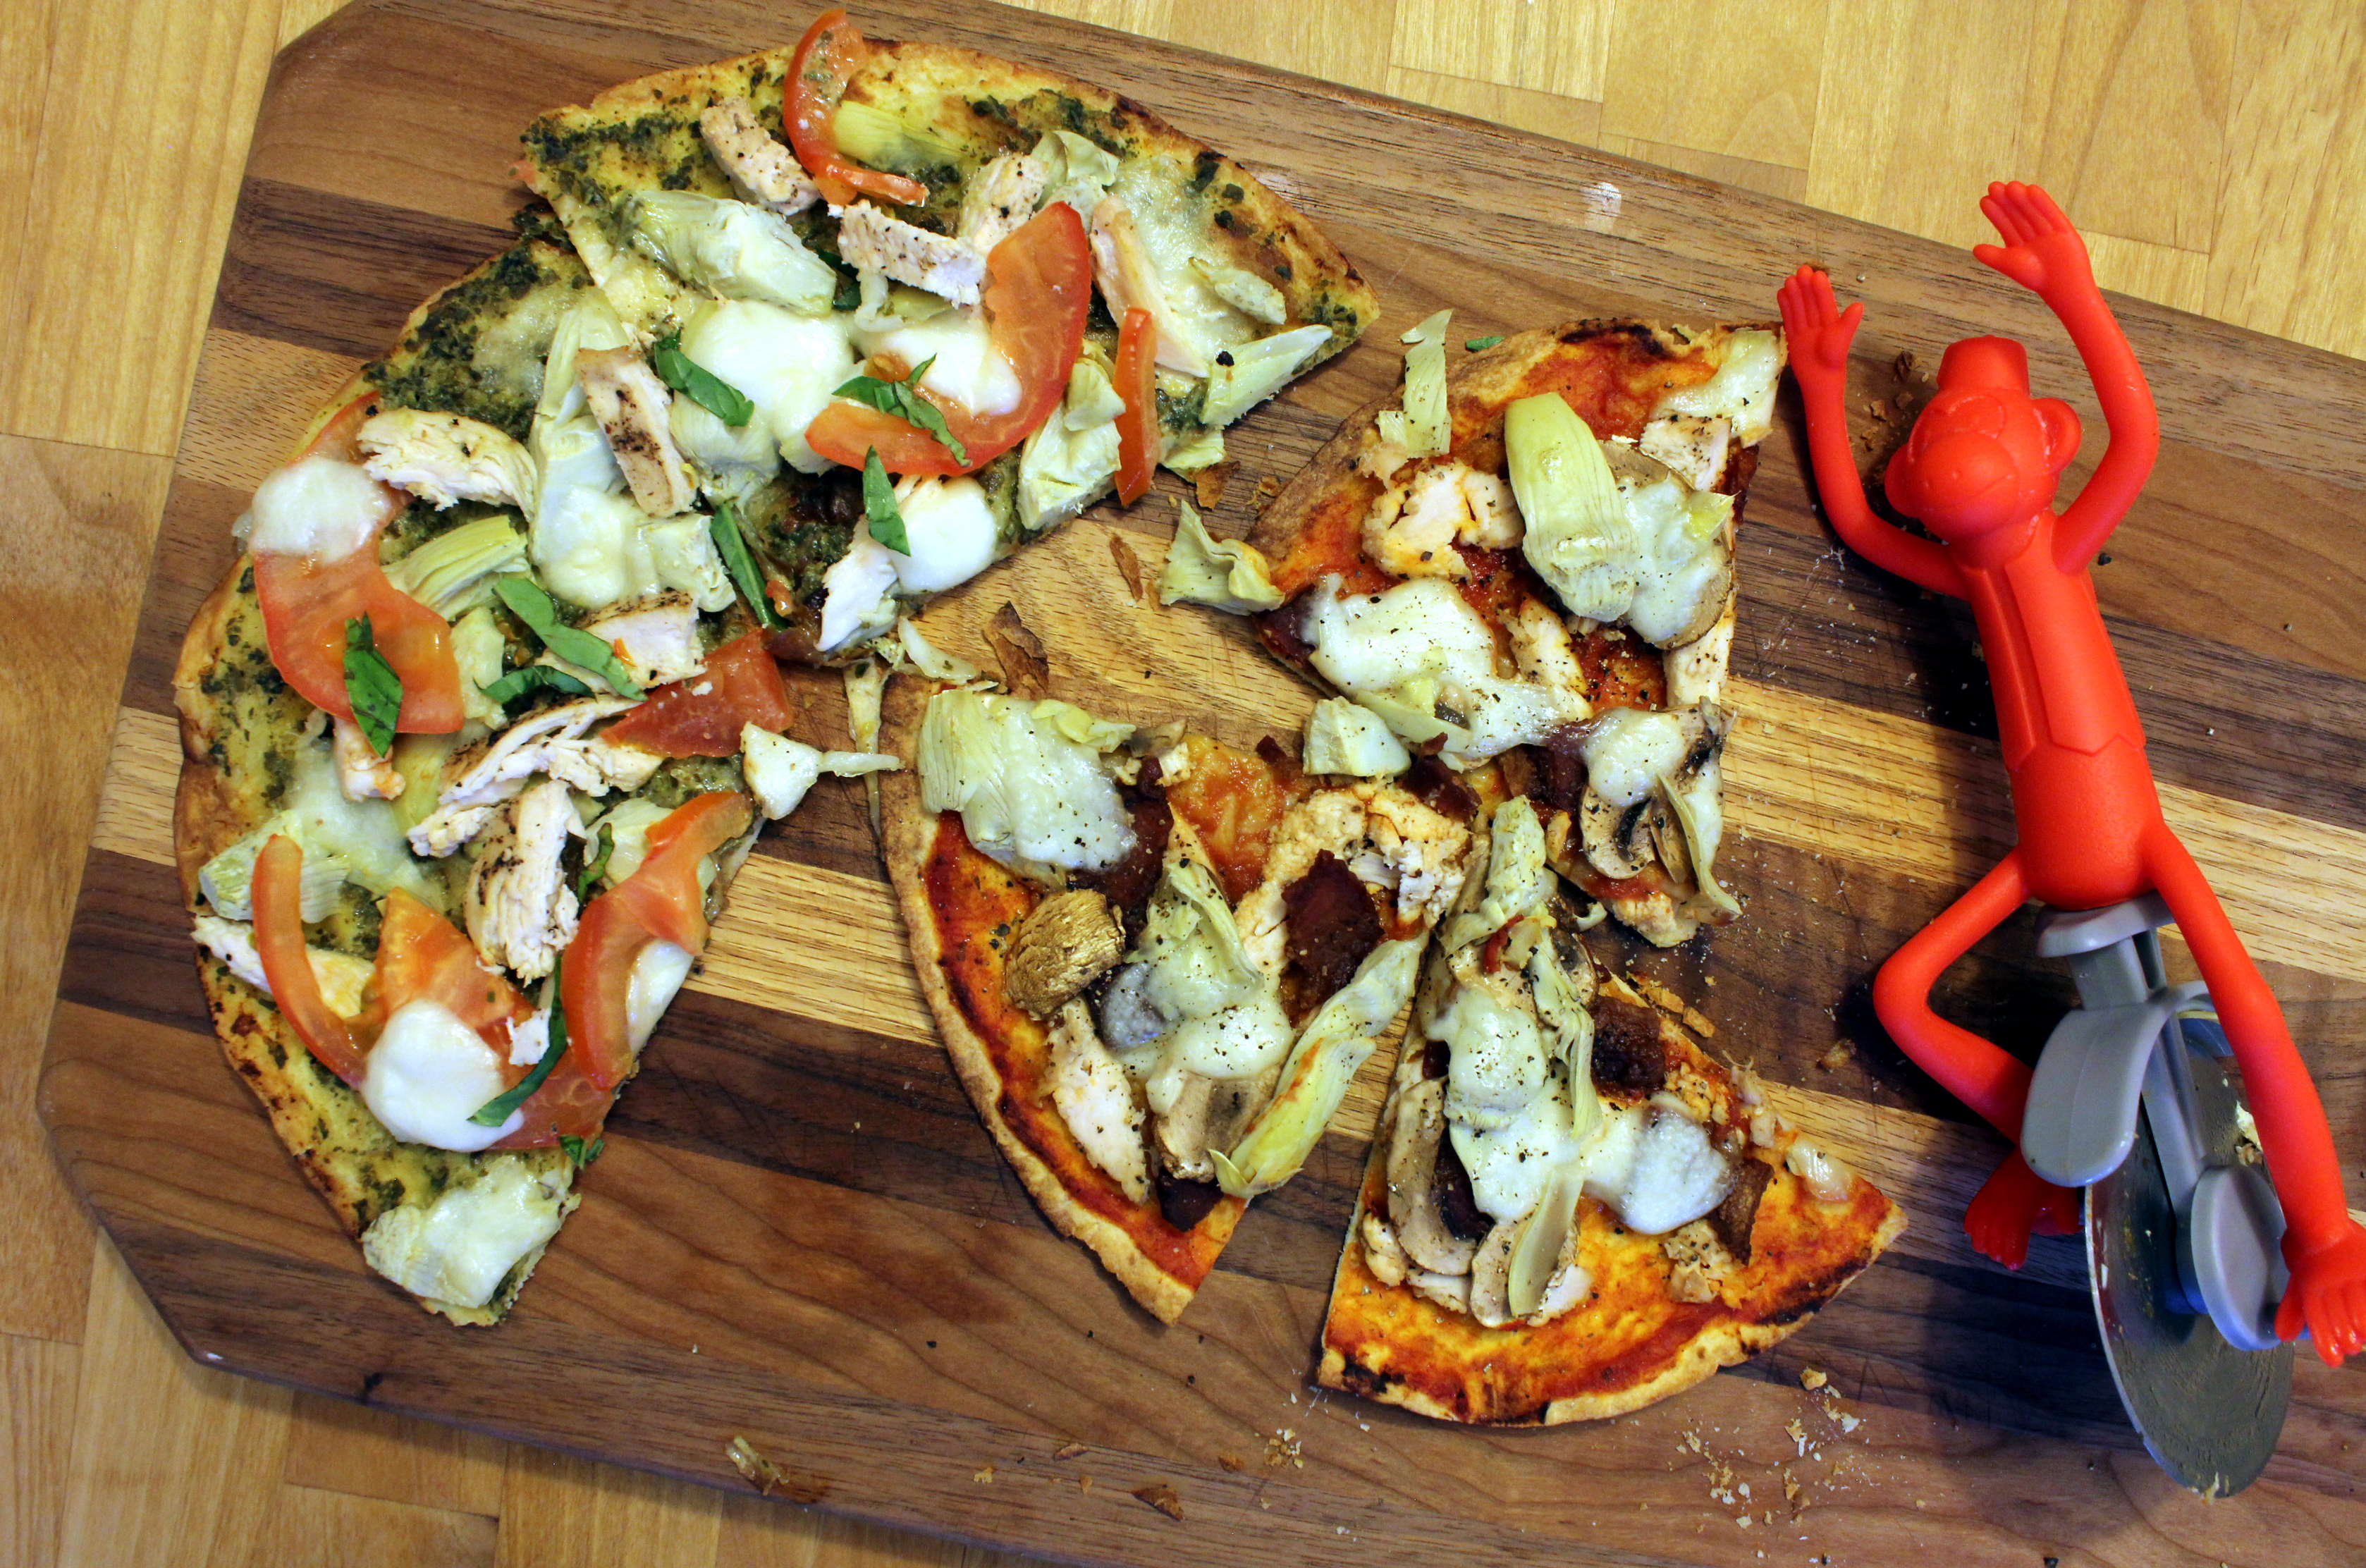
Pesto Chicken Margherita Pizza
My husband thought the idea of grilled tortilla pizza was a little strange, so he opted to eat the same meal from the night before from the leftovers. My daughter jumped right in and made herself a traditional pepperoni pizza, while I on the other hand went for a chicken Margherita-type pizza. Let me tell you it was divine! I gave my husband a bite and he was so surprised how good it was. In fact, we are going to use up the last of the chicken tonight and grill pizzas again! This time I’m also going to make a taco-style pizza in addition to the chicken. Just think of the endless possibilities!
Grilled Tortilla Pizzas
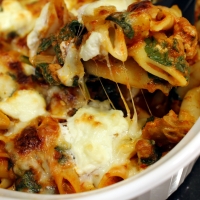
Traditional Pepperoni
10-inch flour tortilla
Marinara sauce (from a jar or homemade)
Pizza-blend shredded cheese
Pepperoni slices

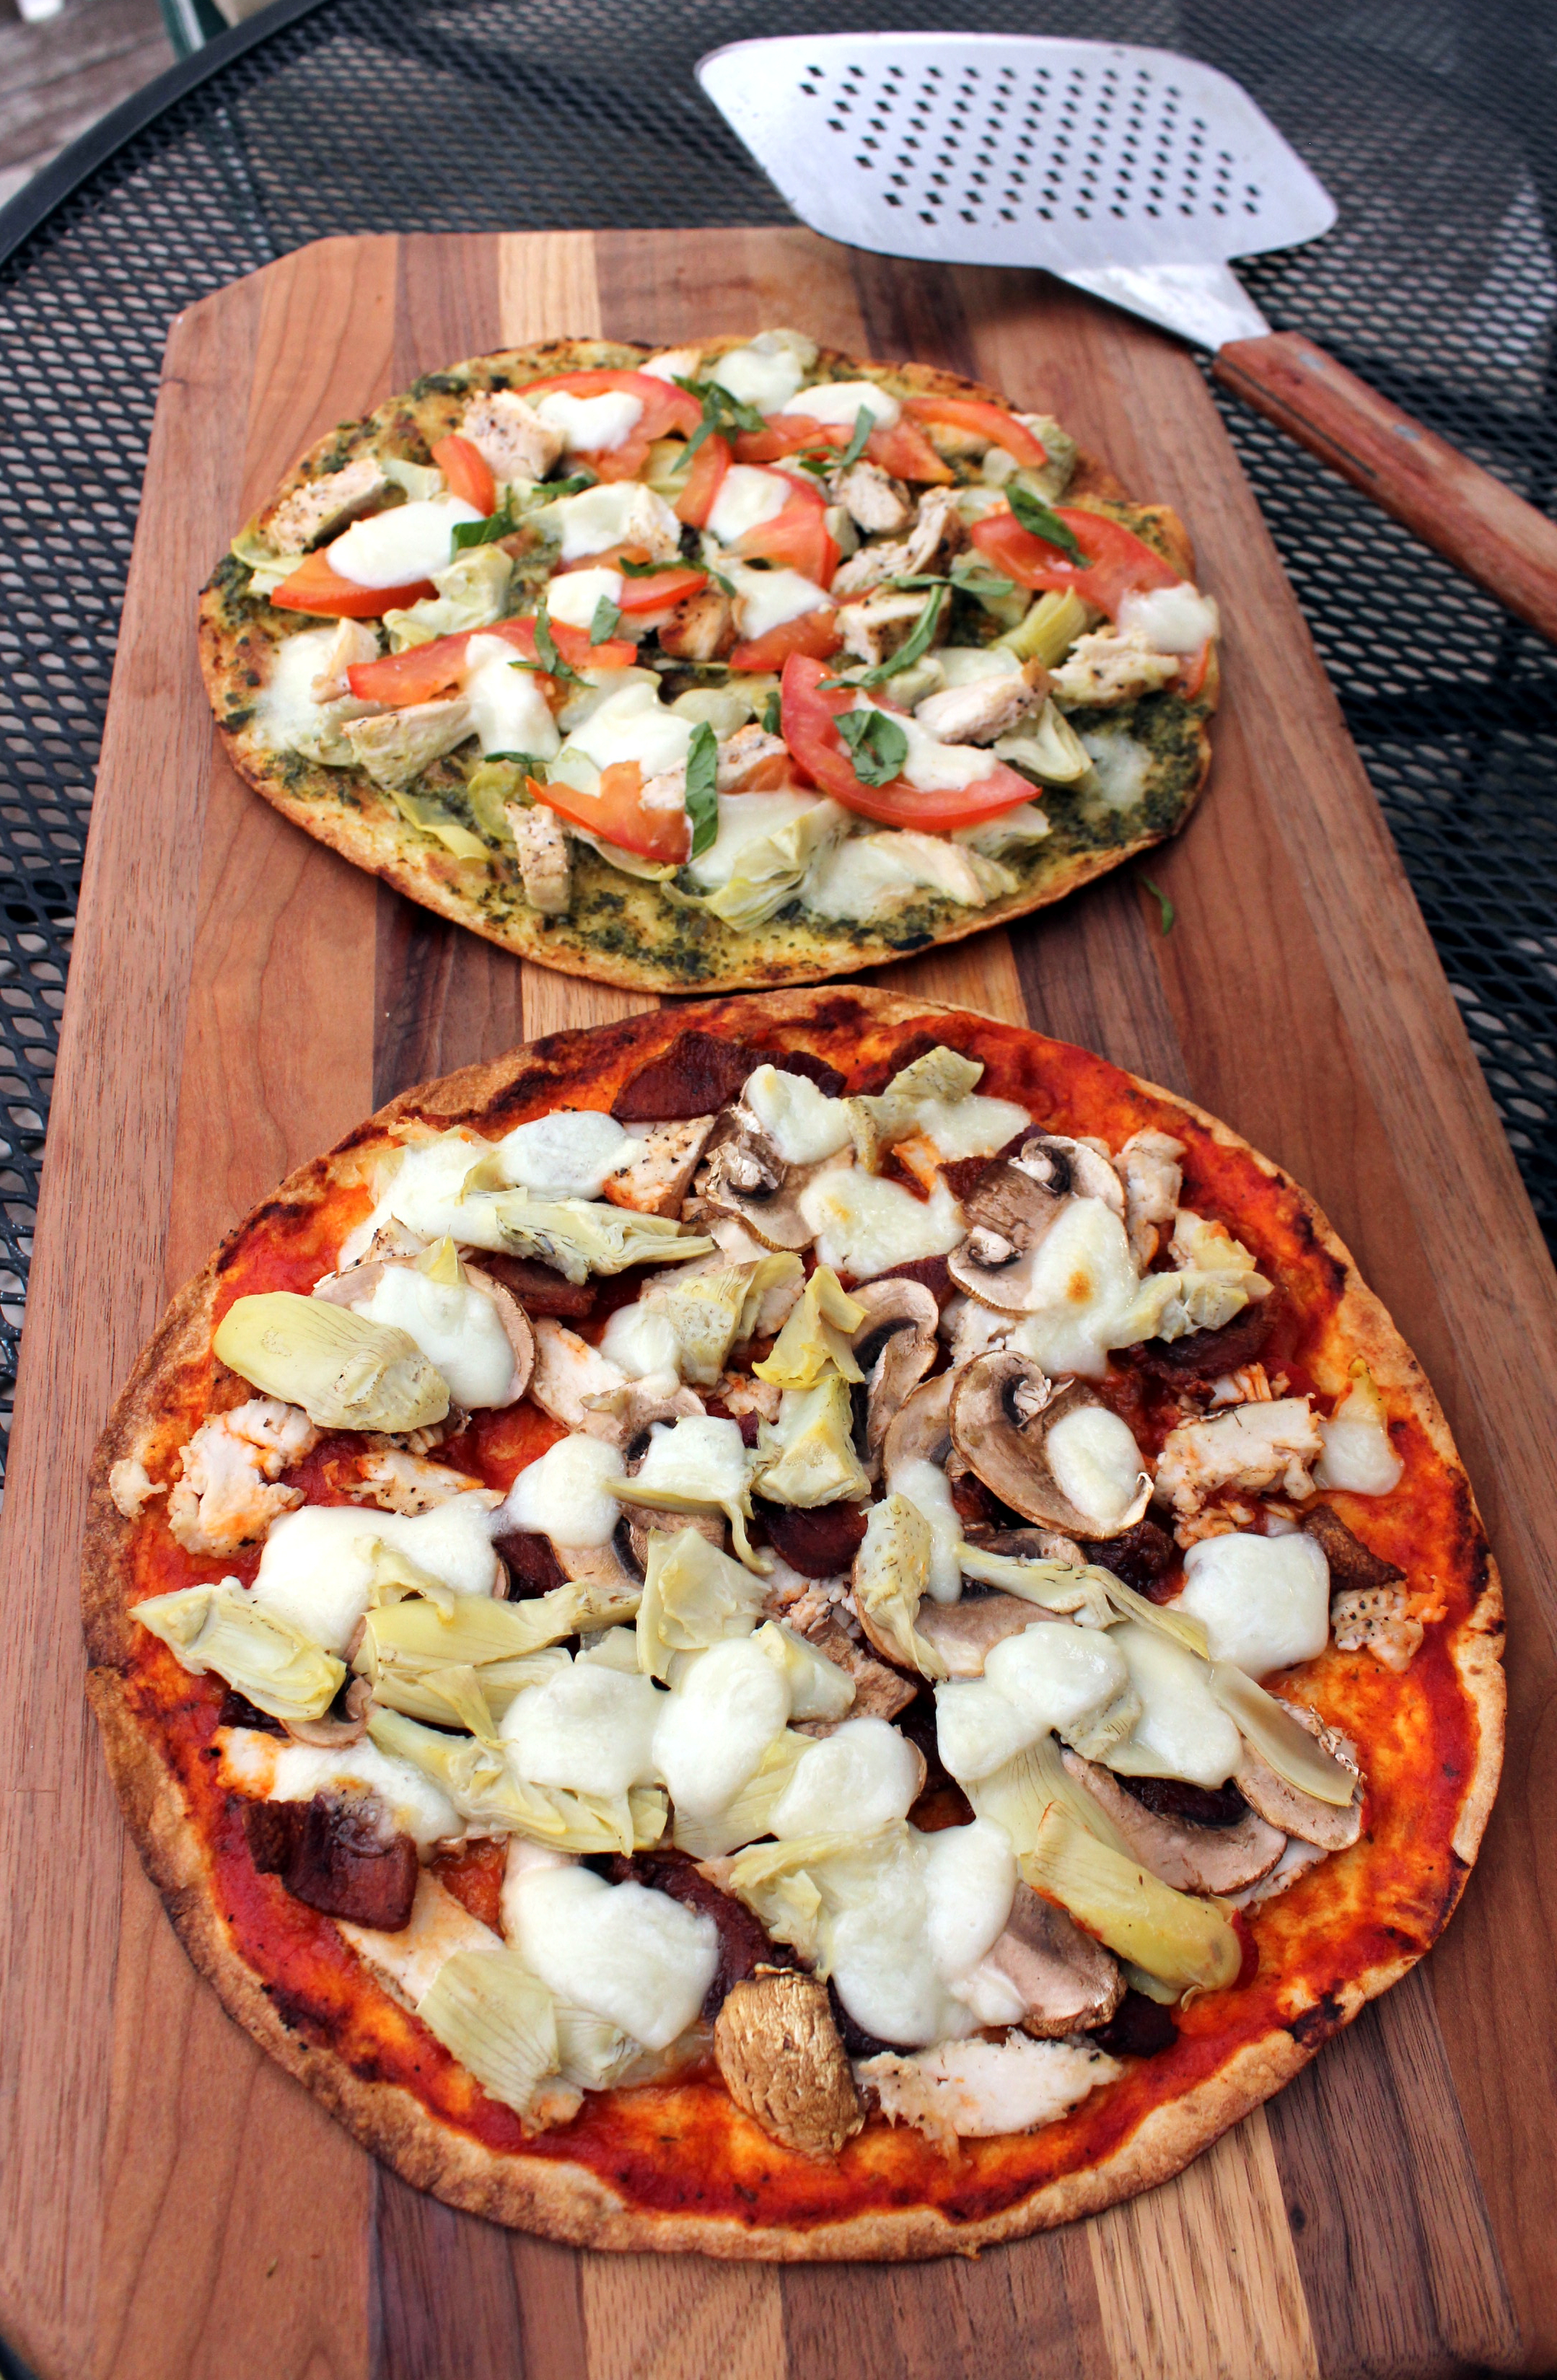
Grilling the Pepperoni Pizza
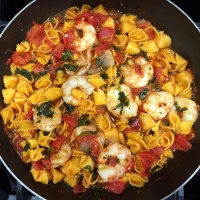
Pesto Chicken Margherita Pizza
10-inch flour tortilla
Pesto sauce (I used store-bought)
Fresh mozzarella cheese
Shredded cooked chicken
1 tomato, sliced
Fresh basil, ribboned
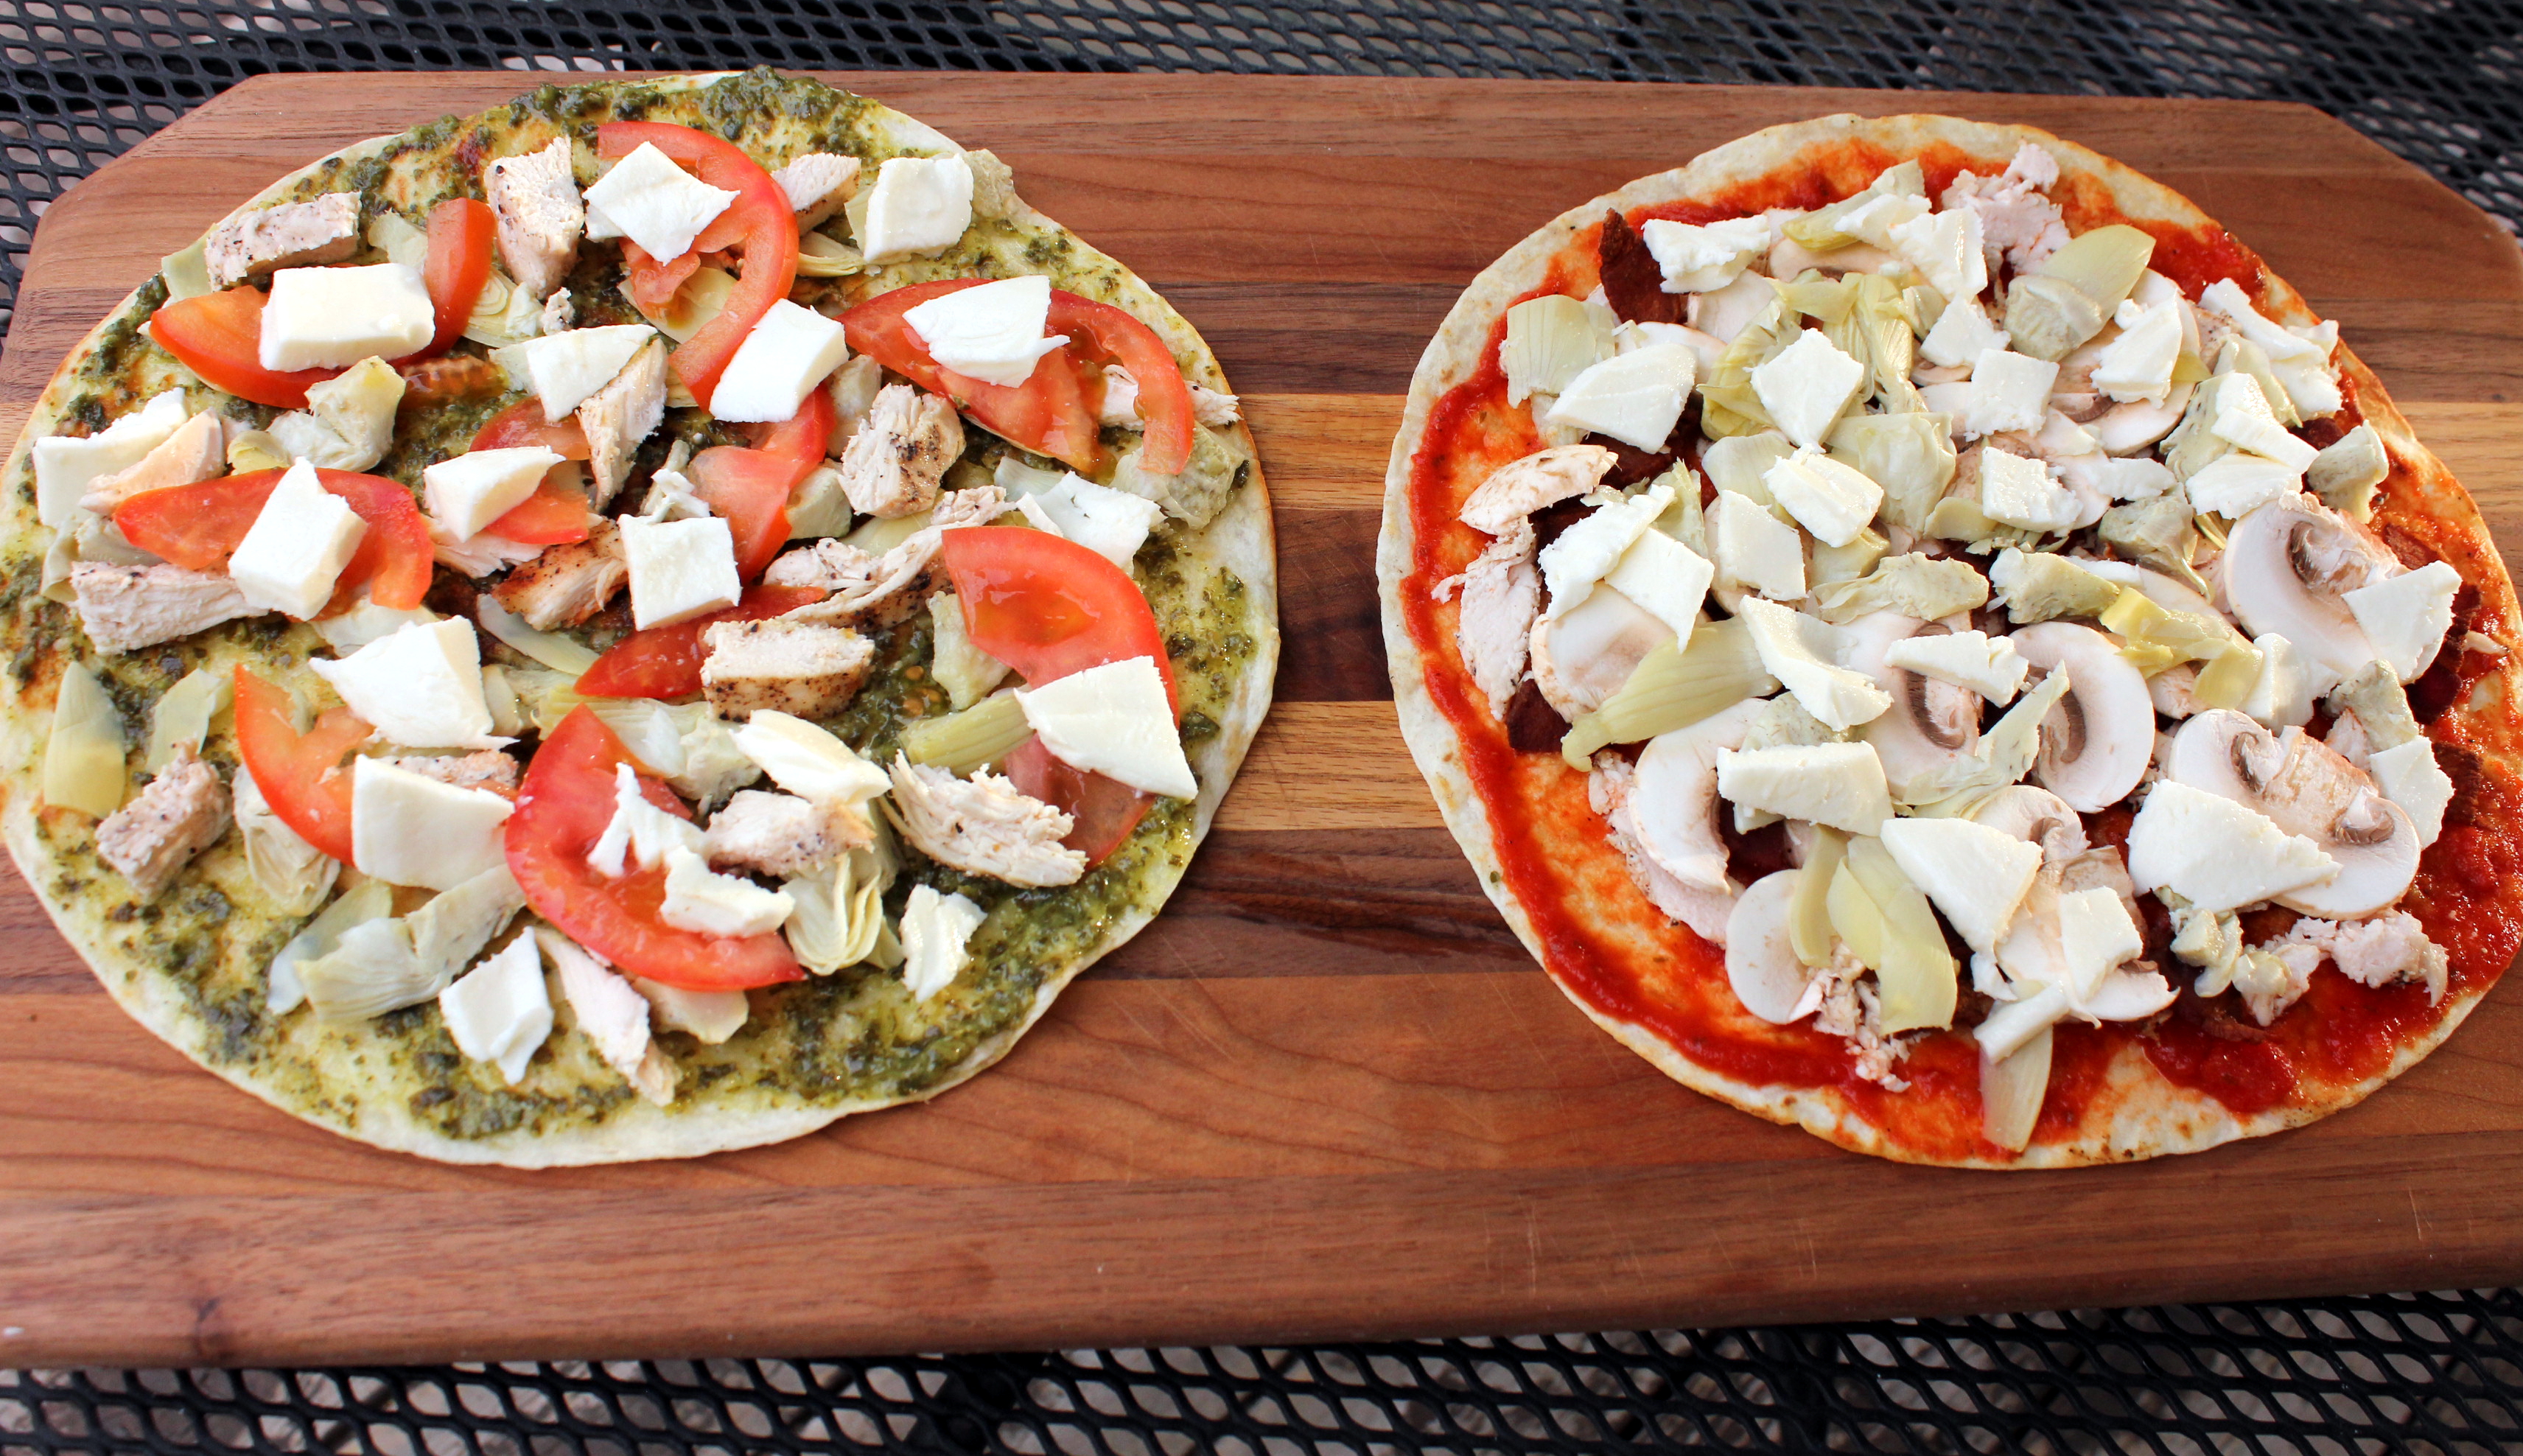
Preheat grill to medium heat. Spray or lightly brush one side of the tortilla with oil, then grill oil-side down for about 3 minutes. Remove from grill and lightly oil the other side of the tortilla. Spread sauce of choice on the cooked side of the tortilla, then top with cheese and other toppings. Place back on grill, cover, and cook until the cheese is melted, about 5 minutes. Remove, slice, and serve immediately. Molto deliziosa!

Pesto Chicken Margherita Pizza Ready to Grill
Last night when we were grilling, the sun was still out but we were overshadowed by thick plumes of smoke from two wildfires that burst out about 6 miles east of us in the forest. My thoughts and prayers go out to the firefighters for their safety and to all the evacuees who must be so frightened about the possibility of losing their homes.
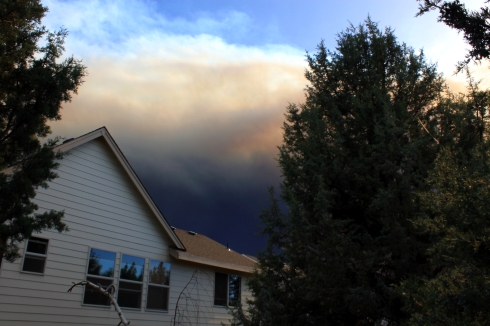
View of Two Bulls Fire from our Back Deck
Tags: basil, beer, butt, can, cheese, chicken, dill, grilled, lemon, margherita, Mozarella, pepperoni, pesto, pizza, potato salad, tarragon, tortilla