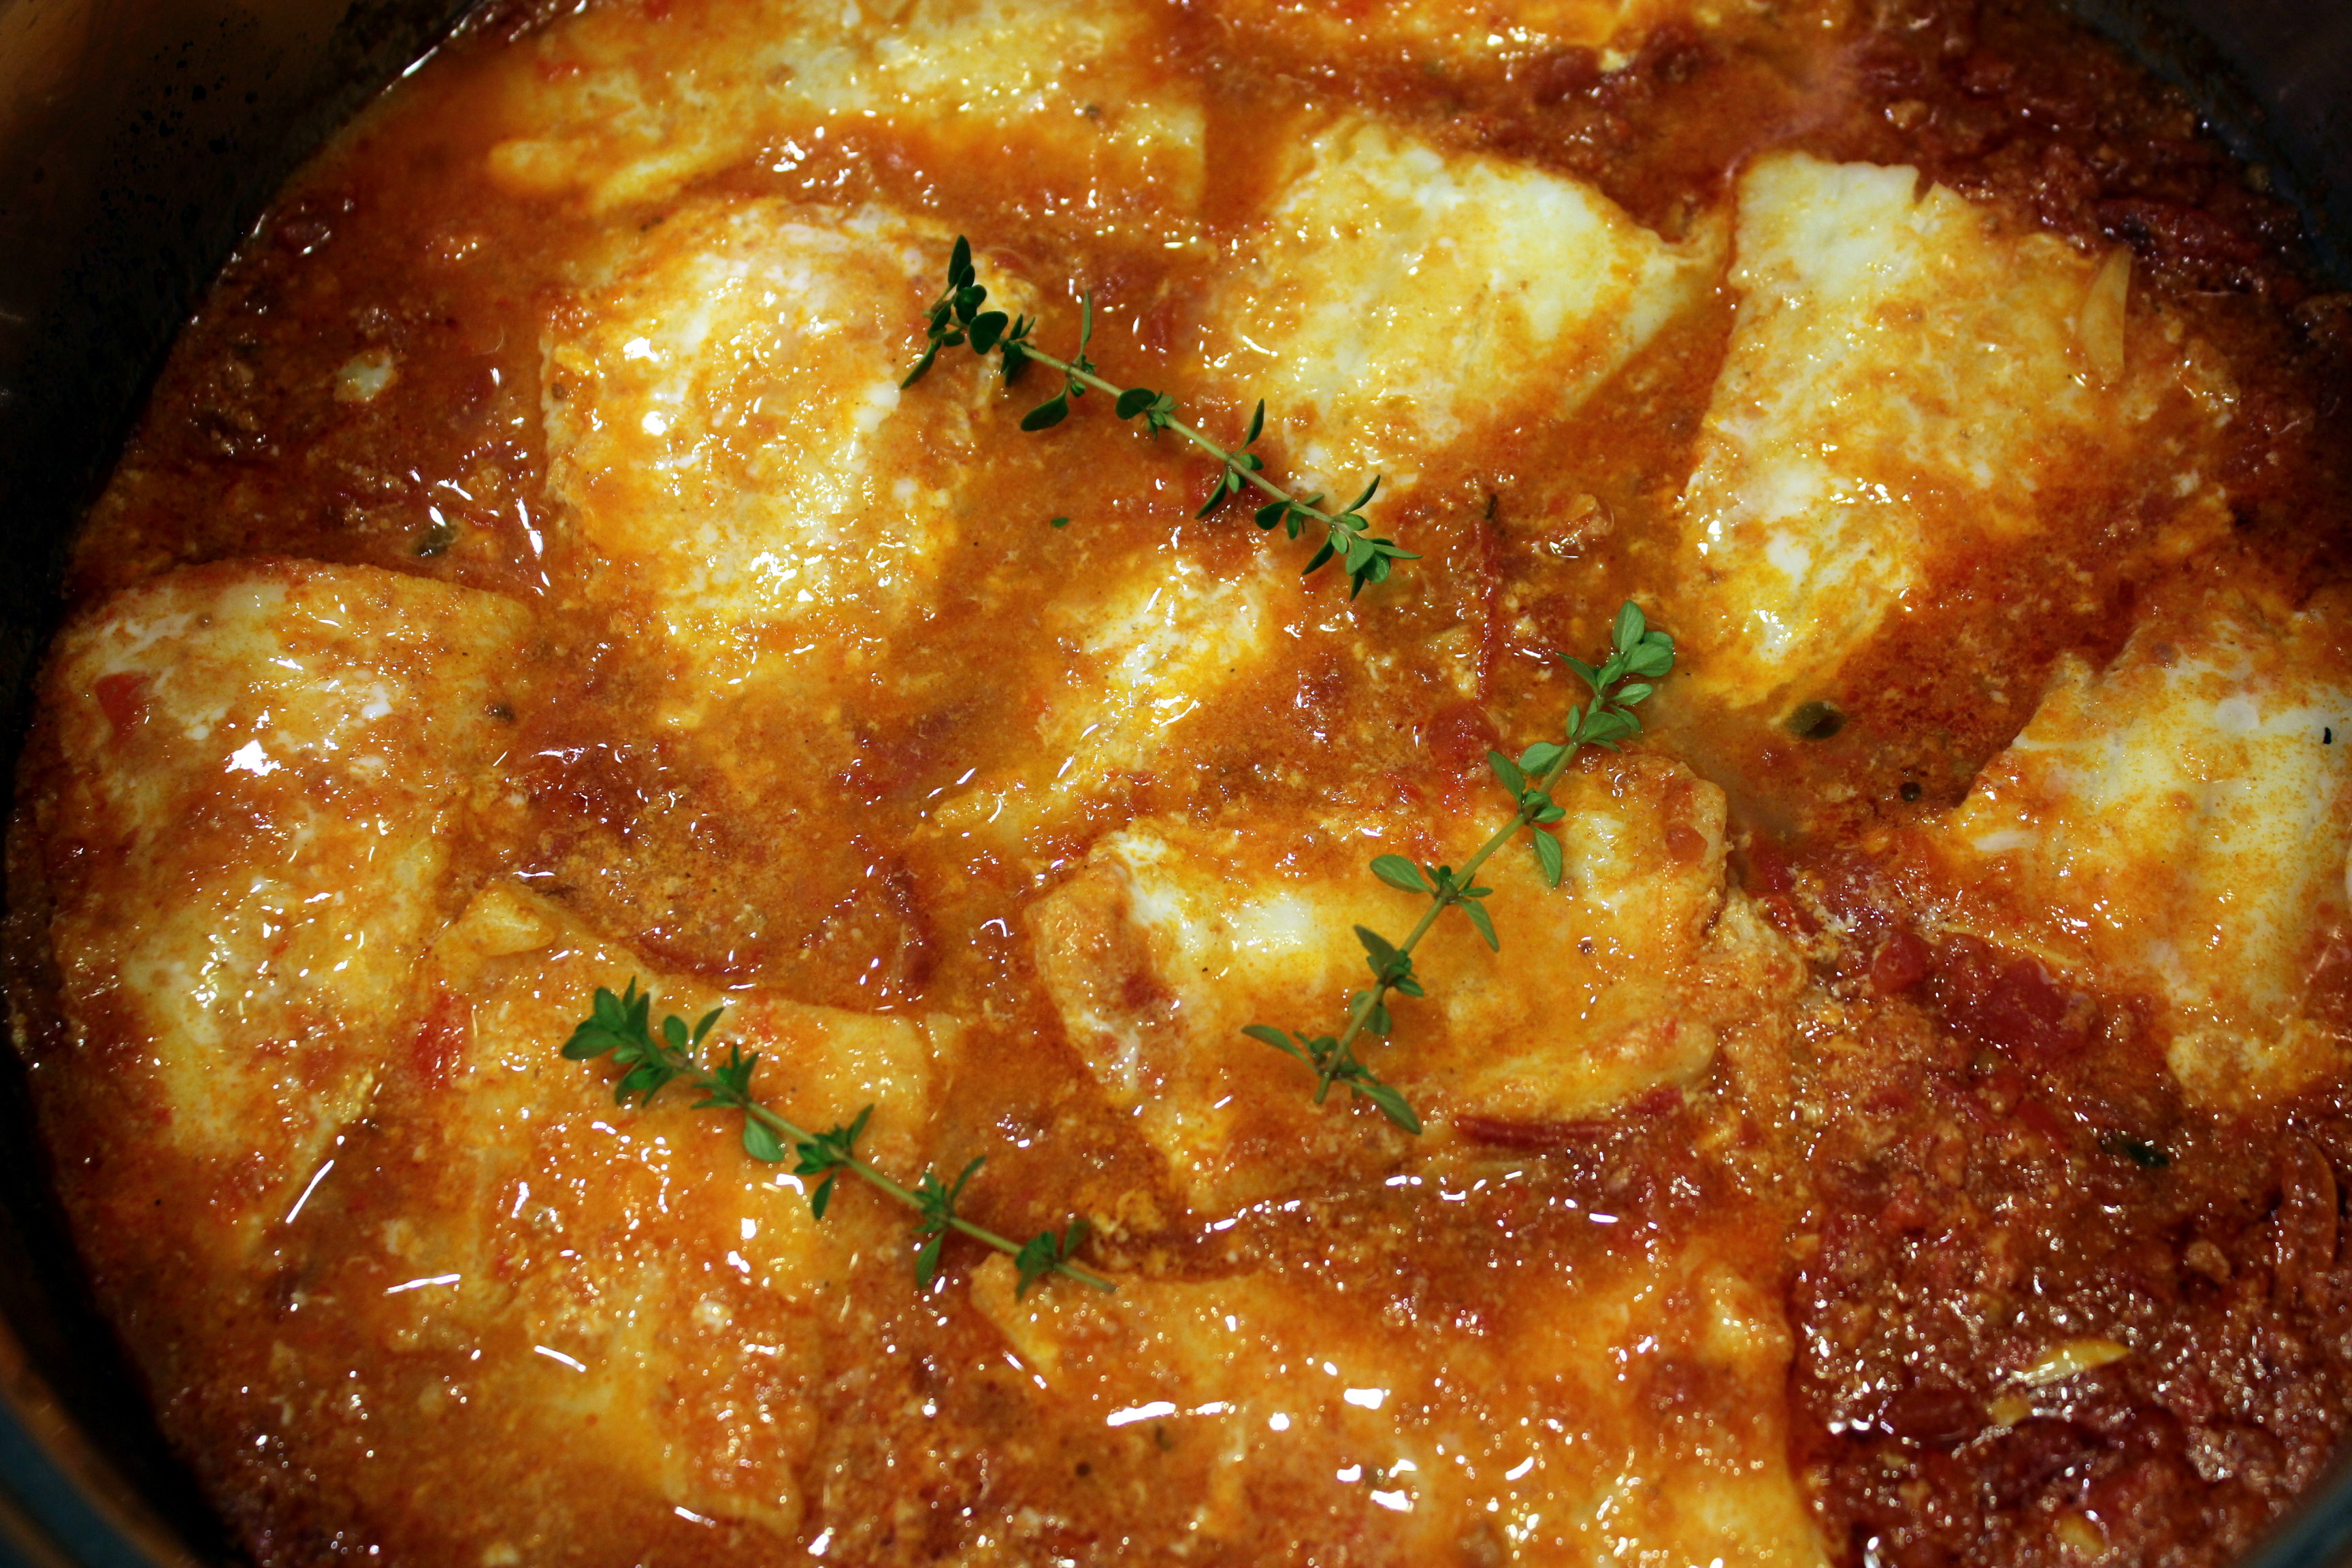
Lazy Sunday Italian Tomato Gravy
After we harvested the last of our ripe tomatoes before the first freeze hit, I decided to grab a bunch of the green tomatoes and hope for the best. These languished on the countertop for a couple of weeks as they slowly ripened. Yesterday I decided I better do something with the ones that finally ripened. Older tomatoes like this need to be cooked down, so slow-roasting them all day seemed the perfect way to spend my Sunday while binge-watching Chopped episodes. And it made the house smell divine!
While I used fresh tomatoes for half this recipe (I blanched and peeled them first), by all means use all canned tomatoes, and preferably San Marzano. Mine were fire-roasted but plain works equally as well. I had to add some additional water during the cooking since I didn’t have the canned juice to go with fresh tomatoes.
This recipe is halved, but by all means double it, as this tomato gravy can go with a multitude of dishes beyond pasta. We served it over rice with garlicky sauteed shrimp. I plan on poaching some eggs in the leftover sauce for a future meal. So rich and incredibly tasty!!
Lazy Sunday Italian Tomato Gravy
Adapted from Serious Eats/J. Kenji López-Alt
2 28-ounce cans whole peeled tomatoes
2 tablespoons extra-virgin olive oil
2 tablespoons butter
4 cloves garlic, minced
1/2 teaspoon red pepper flakes
1 1/2 teaspoons dried oregano
1 1/2 teaspoons dried basil
8 baby carrots
1/2 medium onion, halved
Kosher salt and ground black pepper

Fresh and Canned Peeled Tomatoes
Lower rack in oven to bottom position and preheat oven to 275 degrees. In a large bowl, crush the tomatoes thoroughly with your hands. Transfer 1 1/2 cups of the crushed tomatoes to a container and refrigerate until later.
Heat olive oil and butter over medium heat in a Dutch oven until butter is melted. Add garlic, red pepper flakes, oregano, and basil, and cook for about two minutes until garlic is fragrant. Stir in the tomatoes, carrots and onion until combined. Season with salt and pepper. Bring to a simmer.

Tomato Gravy Ready to Slow Cook
Cover the pot with the lid slightly ajar and place in preheated oven. Walk away and enjoy your day, coming back to stir about every 1 1/2 to 2 hours. Add a little water if needed throughout. The sauce should reduce by about half and darkened to a deep red, about 5 to 6 hours.
Remove from oven, then discard onion quarters and carrots. Add the reserved tomatoes and stir to combine. Taste and adjust seasoning with additional salt and pepper. Serve immediately over pasta, rice or any which way you want. Leftovers can be refrigerated up to a week or frozen. Reheat from frozen with 1/2 cup water.
p.s. Austin Street Taco followers: I’ve closed my cart down now for the winter, but had a meeting today about a possible and exciting future venue next year! Stay tuned!

Download and Print this Yummy Recipe!