Cauliflower Crusted Cod with a Raspberry Brie Cheese Sauce
Thank you everyone who voted for my last recipe to make it to the next round of Diced!
You can read the recipe here below or on The Ranting Chef’s website here: Diced! – Kathryn – Cauliflower-Crusted Ling Cod with a Raspberry Beer Brie Sauce and Roasted Cauliflower
The next round involved a “white out” with a list of ingredients of all things white: white fish, cauliflower, Brie cheese, and white pepper. I immediately knew I would be using our last piece of Ling Cod from the freezer that our friend caught off the Oregon Coast when he took us out bottom fishing back in October. Since I knew I would be experimenting with a few dishes, I went and bought some inexpensive Tilapia to mess around with until I knew I had the perfect recipe. Good thing I did, because my first attempt at this dish resulted in disaster and quite the mess!
When I saw Brie as an ingredient, it made me think of a cheese pairing with fruit. Brie and fruit make a lovely pairing, particularly raspberries. So I figured some kind of cheese sauce for the fish was in order, but wasn’t quite sure how I’d pull that off. A cheese sauce also made me think of beer cheese soup. Next thing you know, I’m on the hunt at the grocery store for a fruity beer. Imagine my surprise when I came across a bottle of Raspberry Brown beer from Lost Coast Brewery. Perfect!

Raspberry Brown Beer and Brie Sauce
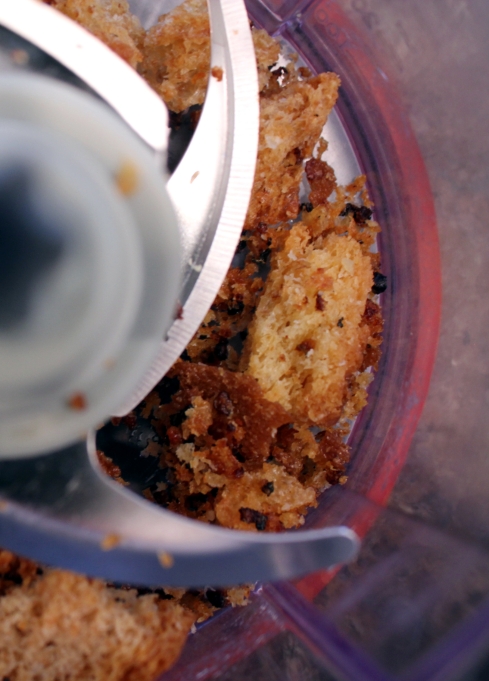
Now I had to figure out what to do with the cauliflower. Yes, it makes a great side dish when roasted, but I needed to do something really special with it for the fish. Then I started thinking about using it as a coating by “ricing” it. I decided I could try out the taste and texture of it by using the riced cauliflower mixed with Panko bread crumbs and butter and baking it atop some cheesy cauliflower, recipe here. Well that worked out good enough, so then I tried coating a test piece of fish with it and pan-frying it. NOT! Cauliflower does not pan-fry well at all. I made a sticky burnt mess out of it.

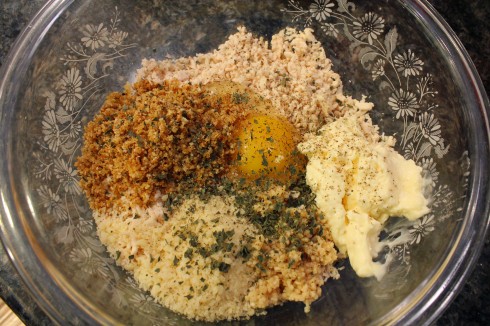
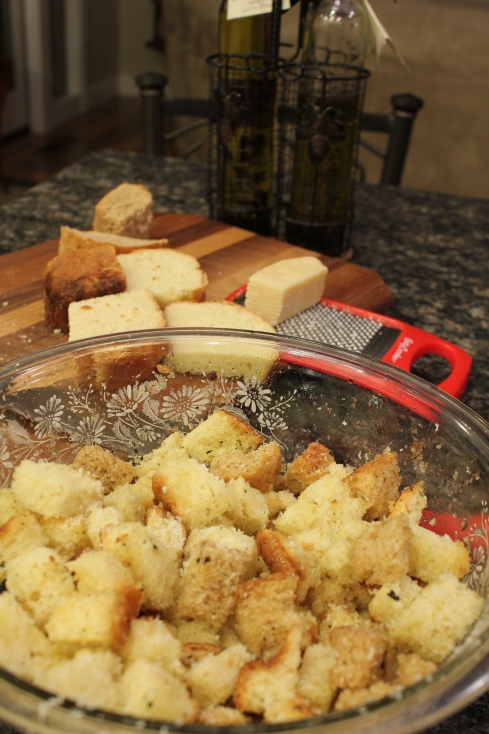
Cauliflower and Panko Mixture
I was pretty sure baking it would work out much better, especially if I used an egg wash to help bind it to the fish. Yep, much better! And now I present to you this delicious Cauliflower-Crusted Ling Cod with a Raspberry Beer Brie Sauce and Roasted Cauliflower:
Cauliflower-Crusted Ling Cod with a Raspberry Beer Brie Sauce and Roasted Cauliflower
Ingredients:
1 filet Ling Cod
2 cups milk
1 egg
For the crust:
2 florets cauliflower
1/2 cup Panko bread crumbs
1/8 teaspoon ground white pepper
1 tablespoon butter
For the roasted cauliflower:
1 small head cauliflower
1 tablespoon olive oil
Hungarian sweet paprika, to taste
Ground white pepper, to taste
For the cheese sauce:
1/2 tablespoon melted butter
1/2 tablespoon flour
1/4 cup Raspberry Brown beer
3/4 cup grated Brie cheese
1/4 cup half and half or whole milk
1/8 teaspoon ground white pepper

Raspberry Brown Beer and Panko
Directions:
Soak the fish in the milk for several hours in the refrigerator. When ready to cook, preheat oven to 375 degrees. Meanwhile, prepare the coating for the fish. Using a box grater, rice the two florets of cauliflower until you have about a half cup. Mix with a half cup of Panko bread crumbs and white pepper. Combine with the melted butter and set aside.
Slice the remaining cauliflower into 1/4 inch steaks and place in one layer on a foil-lined baking sheet coated with cooking spray oil. Drizzle the olive oil over the cauliflower then sprinkle with Hungarian sweet paprika and ground white pepper, to taste. Place in the preheated oven.

Cauliflower and Paprika
Meanwhile, beat the egg with a splash of milk in a bowl. Remove the fish from the milk and dip in the egg wash and coat thoroughly. Dredge the fish through the cauliflower/Panko mixture, pressing down firmly to coat evenly on both sides of the fish. Place on a foil-lined baking sheet coated with cooking spray, then lightly spray the top with olive oil. Place in the oven with the roasting cauliflower, and cook until the fish is opaque and flakes easily with a fork, about 20 to 25 minutes.

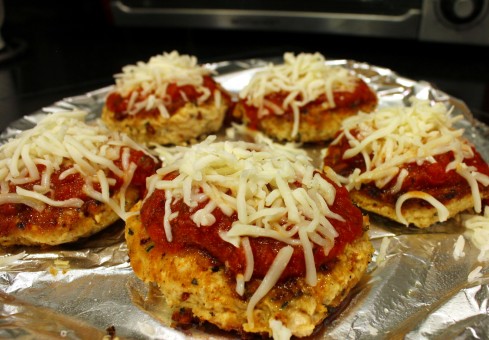
Cauliflower Panko Crusted Ling Cod
While the fish and cauliflower are cooking, prepare the Brie and beer cheese sauce. Add all the sauce ingredients to a blender or food processor and process on high for several minutes until well blended. Pour into a small saucepan over medium heat and whisk constantly, until thickened. Season with ground white pepper, to taste. Turn heat to the lowest setting and stir occasionally until the fish and cauliflower are done.
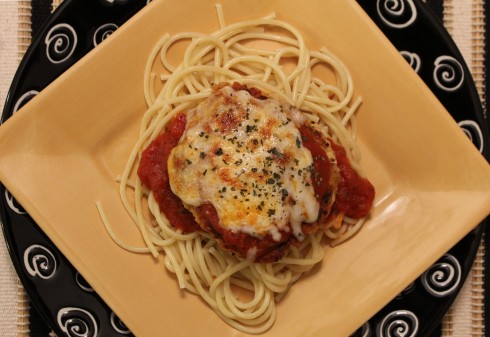
Remove the fish and cauliflower from the oven. Spoon some of the cheese sauce onto a plate, and place the fish on top of it. (I shared this with my hubby so you see half a filet in on the final dish.) Drizzle more cheese sauce over the fish, add roasted cauliflower to the plate, and enjoy!

Cauliflower Crusted Cod with a Raspberry Brie Cheese Sauce and Roasted Cauliflower

Download and Print this Yummy Recipe!
Tags: bread crumbs, Brie cheese, cauliflower, cheese sauce, competition, crusted, diced, Ling Cod, Lost Creek Brewery, panko, paprika, raspberries, Raspberry Brown Beer, riced, roasted, The Ranting Chef, white fish